Building a Desktop App with Vue: Electron
Part of "Desktop applications with Vue" series
In my previous article I described building a desktop application with Vueframework using Vuido. It's a great library to create a fast and small-sized desktop app with native platform components but it has its own downsides like no CSS styling or images support. Now it's time to try Electron to build a desktop app.
To have a quick start I've used an electron-vue boilerplate by Greg Holguin. It provides a developer with vue-cli scaffolding, common Vue plugins, packager, testing, devtools, and other features.
💻 What are we going to build
We will build the same application as in the previous article: an app to check the weather in the city of user's choice built on top of OpenWeatherMap API.
If you want just to check the final Electron-powered app code, it's here.
🛠️ Installation
An electron-vue boilerplate is built as a template for VueCLI 2.x and includes options to customize an application. So you need to install it globally:
npm install -g vue-cli
If you prefer to use the latest version of VueCLI, you need to install a global bridge too:
npm install -g @vue/cli @vue/cli-init
and then initialize your project:
vue init simulatedgreg/electron-vue weather-app
This will start an installation project with a couple of choices you need to make during it.
The cool thing is if you need some commonly used plugins and libraries such as axios, you can pick them up during the installation process.
Almost all choices were clear but there was one concern 🤔:
I decided to google it and found this useful thread on StackOverflow. According to it,
electron-builder seemed to be a better choice for me, so I went with it.
After the project is set up, you need to go to the application folder and run
npm install or yarn install and we are ready to go.🔦 Understanding an application structure
Right after installation is finished you can see two folders inside the
srcone: main and renderer. First one is required for Electon main processAccording to electron-vue docs, in Electron the process that runspackage.json’s main script is called the main process. The script that runs in the main process can display a GUI by creating web pages.
There are two files in the
main folder: index.js and index.dev.js. First one is your application's main file, the file in which electron boots with. It is also used as webpack's entry file for production. All main process work should start here.index.dev.jsis used specifically and only for development as it installs electron-debug & vue-devtools. You don't need to touch it while developing an application.renderer folder is required for renderer process.Since Electron uses Chromium for displaying web pages, Chromium’s multi-process architecture is also used. Each web page in Electron runs in its own process, which is called the renderer process.
As you may notice, it's a 'normal' Vue application structure with
assets and components folders, main.js and App.vue files. Here is the structure of the latter:<template>
<div id="app">
<landing-page></landing-page>
</div>
</template>
<script>
import LandingPage from '@/components/LandingPage'
export default {
name: 'weather-app',
components: {
LandingPage
}
}
</script>
<style>
/* CSS */
</style>
And if you try to run
dev task you will have this result:
So there is a
landing-page component and also devtools opened. Now we can start to change it!🕹️ Scaffolding an app
Unlike Vuido, an Electron-powered app is built with HTML-tags, not native components. So we will make a structure similar to the usual web app and style it with CSS.
NOTE: I didn't install any CSS framework or component library on purpose: I wanted to compare package size without adding any different dependencies. The only library used in both projects is axios.
The first step was to get rid of
landing-page component. Then I added a simple input field and a button:<div id="app">
<p>Enter the city name to check current weather in it</p>
<section class="weather-input">
<input type="text" v-model="query">
<button :disabled="!query.length">Check</button>
</section>
</div>
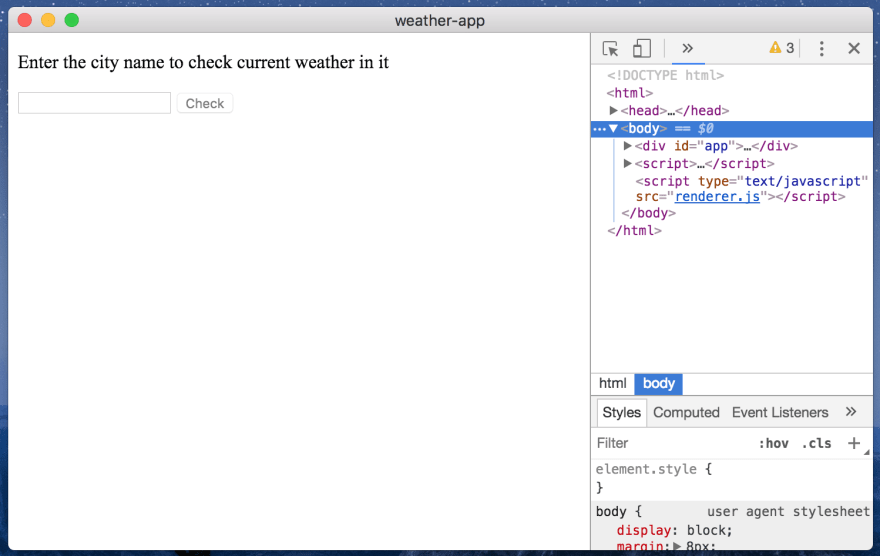
Now our application looks this way:
We have a
query property in data to handle the user input and we will make an API call with this query as a parameter.🔗 Making an API call
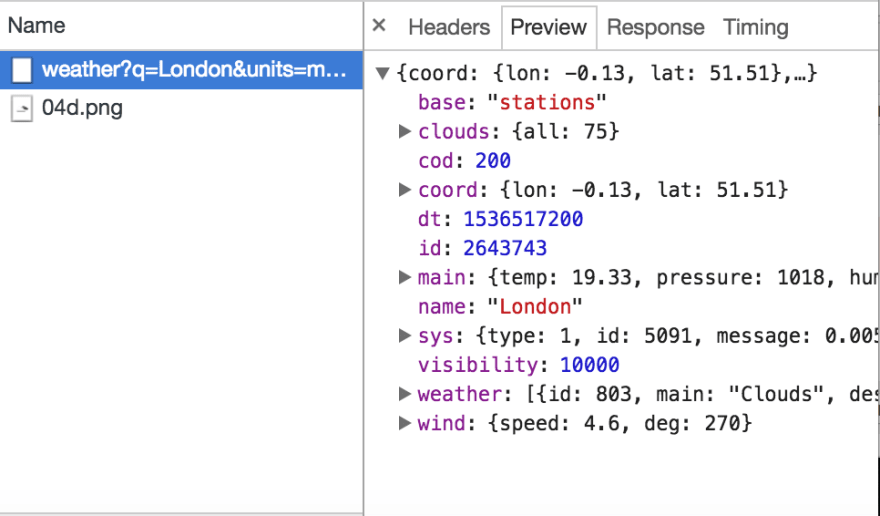
I used the OpenWeatherMap current weather API. It gives you a lot of different information, you can check an example of JSON response here.
We already included
axios to our application during the installation process. Let's have a look at src/renderer/main.js:import Vue from 'vue';
import axios from 'axios';
import App from './App';
if (!process.env.IS_WEB) Vue.use(require('vue-electron'));
Vue.http = Vue.prototype.$http = axios;
Vue.config.productionTip = false;
So we can use axios methods as
this.$http in the component instance! The only thing we will add here is a base URL for our API calls:axios.defaults.baseURL = 'http://api.openweathermap.org/data/2.5';
Now in the
App.vue we will create a bunch of data properties to display different weather data:data() {
return {
query: '',
error: false,
city: '',
country: '',
weatherDescription: '',
temp: null,
tempMin: null,
tempMax: null,
humidity: null,
icon: '',
};
},
I've added one additional property comparing to Vuido version and it's an
icon. API provides a weather icon but we couldn't use it in Vuido app because currently there is no support for displaying images.
Let's also create a method to fetch our data:
methods: {
  showWeather() {
    this.$http
      .get(`/weather?q=${this.query}&units=metric&&appid=${API_KEY}`)
      .then(response => {
        this.city = response.data.name;
        this.country = response.data.sys.country;
        this.weatherDescription = response.data.weather[0].description;
        this.temp = response.data.main.temp;
        this.tempMin = response.data.main.temp_min;
        this.tempMax = response.data.main.temp_max;
        this.humidity = response.data.main.humidity;
        this.icon = `http://openweathermap.org/img/w/${
          response.data.weather[0].icon
        }.png`;
        this.error = false;
      })
      .catch(() => {
        this.error = true;
        this.city = '';
      });
  },
},
and add it to the click callback of our button:
<button :disabled="!query.length" @click="showWeather">Check</button>
Now if you enter the text into an input field and click the button, you can observe the API call in the
Network tab:💅 Displaying weather data
Let's add this data to the template:
<template>
<main id="app">
<p>Enter the city name to check current weather in it</p>
<section class="weather-input">
<input type="text" v-model="query">
<button :disabled="!query.length" @click="showWeather">Check</button>
</section>
<section v-if="error" class="weather-error">
There is no such city in the database
</section>
<section v-if="city.length" class="weather-result">
<h1>{{city}}, {{country}}</h1>
<p><em>{{weatherDescription}}</em></p>
<div class="weather-result__main">
<img :src="icon" alt="Weather icon">
<div class="weather-result__temp">
{{temp}}°C
</div>
</div>
<div class="weather-result__details">
<p>Min: {{tempMin}}°C</p>
<p>Max: {{tempMax}}°C</p>
<p>Humidity: {{humidity}}%</p>
</div>
</section>
</main>
</template>
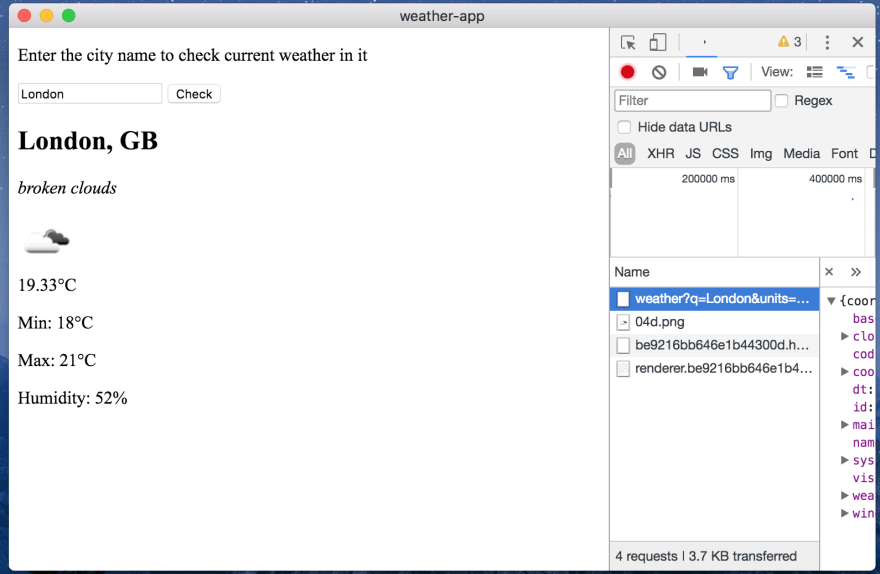
Our application view:
Awesome, we can see an actual weather! But it looks like it's 1999... Let's add some CSS magic to it (actually, a lot of CSS magic)!
<style lang="scss">
* {
  margin: 0;
  padding: 0;
}
html,
body,
#app {
  height: 100%;
}

#app {
  font-family: Arial, Helvetica, sans-serif;
  font-size: 16px;
  padding: 10px;
  background: rgb(212, 228, 239);
  background: -moz-radial-gradient(
    center,
    ellipse cover,
    rgba(212, 228, 239, 1) 0%,
    rgba(134, 174, 204, 1) 100%
  );
  background: -webkit-radial-gradient(
    center,
    ellipse cover,
    rgba(212, 228, 239, 1) 0%,
    rgba(134, 174, 204, 1) 100%
  );
  background: radial-gradient(
    ellipse at center,
    rgba(212, 228, 239, 1) 0%,
    rgba(134, 174, 204, 1) 100%
  );
  filter: progid:DXImageTransform.Microsoft.gradient( startColorstr='#d4e4ef', endColorstr='#86aecc',GradientType=1 ); /* IE6-9 fallback on horizontal gradient */
}

.weather-input {
  display: flex;
  align-items: center;
  padding: 20px 0;
}

.weather-result {
  text-align: center;
  &__main {
    display: flex;
    align-items: center;
    justify-content: center;
    padding-top: 5px;
    font-size: 1.3rem;
    font-weight: bold;
  }
  &__details {
    display: flex;
    align-items: center;
    justify-content: space-around;
    color: dimgray;
  }
}

.weather-error {
  color: red;
  font-weight: bold;
}

input {
  width: 75%;
  outline: none;
  height: 20px;
  font-size: 0.8rem;
}

button {
  display: block;
  width: 25%;
  height: 25px;
  outline: none;
  border-radius: 5px;
  white-space: nowrap;
  margin: 0 10px;
  font-size: 0.8rem;
}
</style>
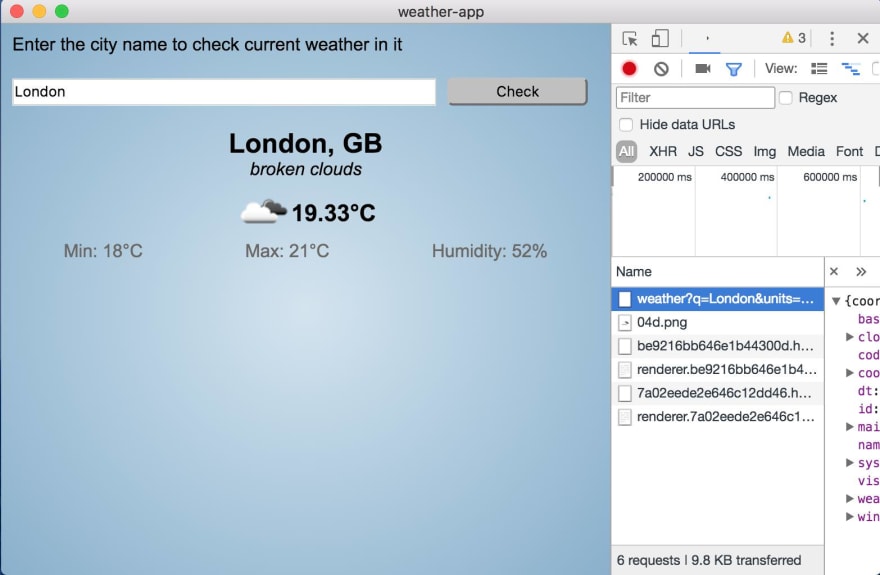
And finally we have nice fully-functional app:
The last thing to do before packaging it is to reduce a window size. If we check a
src/main/index.js file, we can find settings for it:mainWindow = new BrowserWindow({
height: 563,
useContentSize: true,
width: 1000
})
Let's change width to be
450 and height to be 250📦 Packaging
Great news: you can build your app as a web application! If you run a
build:web task, you will find a build web app in a dist folder.
But let's go back to our desktop app and run
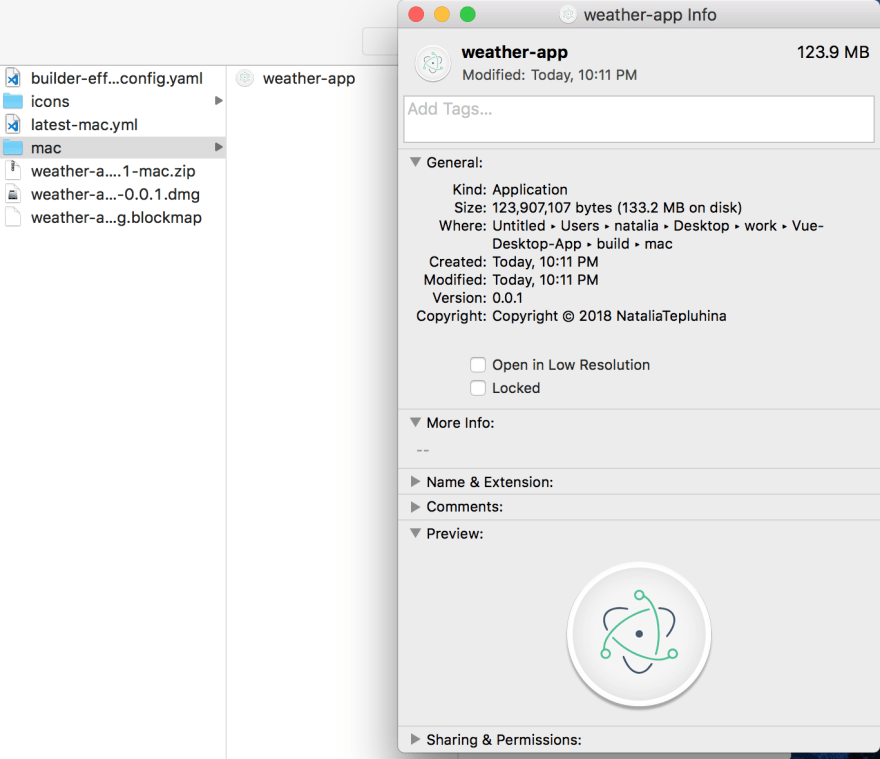
build task. As a result, you will have a folder named after your platform inside the build folder (for me it's mac) and an application file inside of it. And its size it... wow, 133 Mb!
It's a lot for such a little application! Also, if you try to run it, you can notice it's starting a bit slower than a Vuido-powered app.
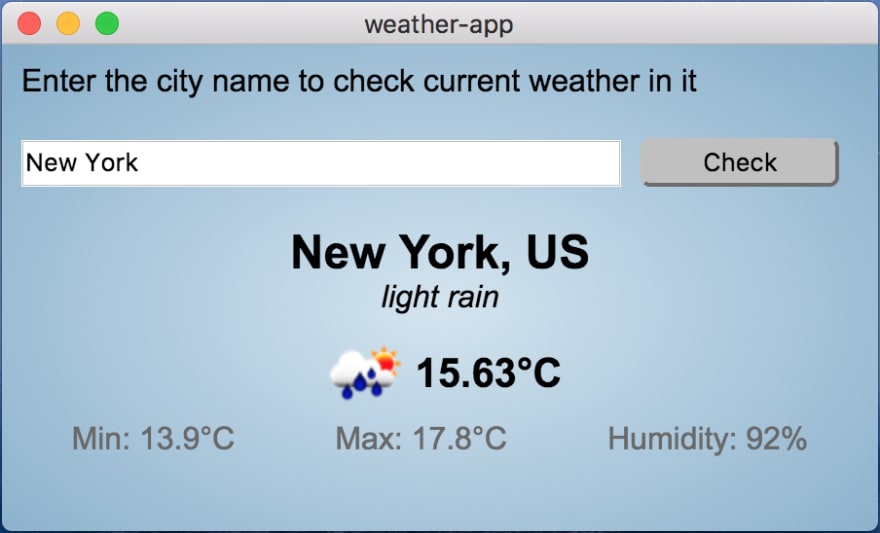
Final look:
🌟 Conclusions
Pros:
- easy to start
- good docs
- provides web app build
- can be customized via CSS styling
Cons
- really big package size
- slower than an application built with native GUI components
Electron-vue is a good option if your application needs a unique appearance and you care less about package size and performance.
Update
If your web application is built with Vue CLI 3, you can simply make it a desktop app with Vue CLI Plugin Electron Builder. You just need to run the following command in your project root folder:
vue add electron-builder
After it's done you will have two additional npm tasks:
serve:electron and build:electron to work with a desktop app.


0 comentarios:
Publicar un comentario