Create an electronic signature with Wix Code (Corvid) custom form
Live ExampleYou can visit this website to view a live example of a custom Wix Form that captures and saves an electronic signature:
https://codequeen.wixsite.com/electronic-signature
https://codequeen.wixsite.com/electronic-signature
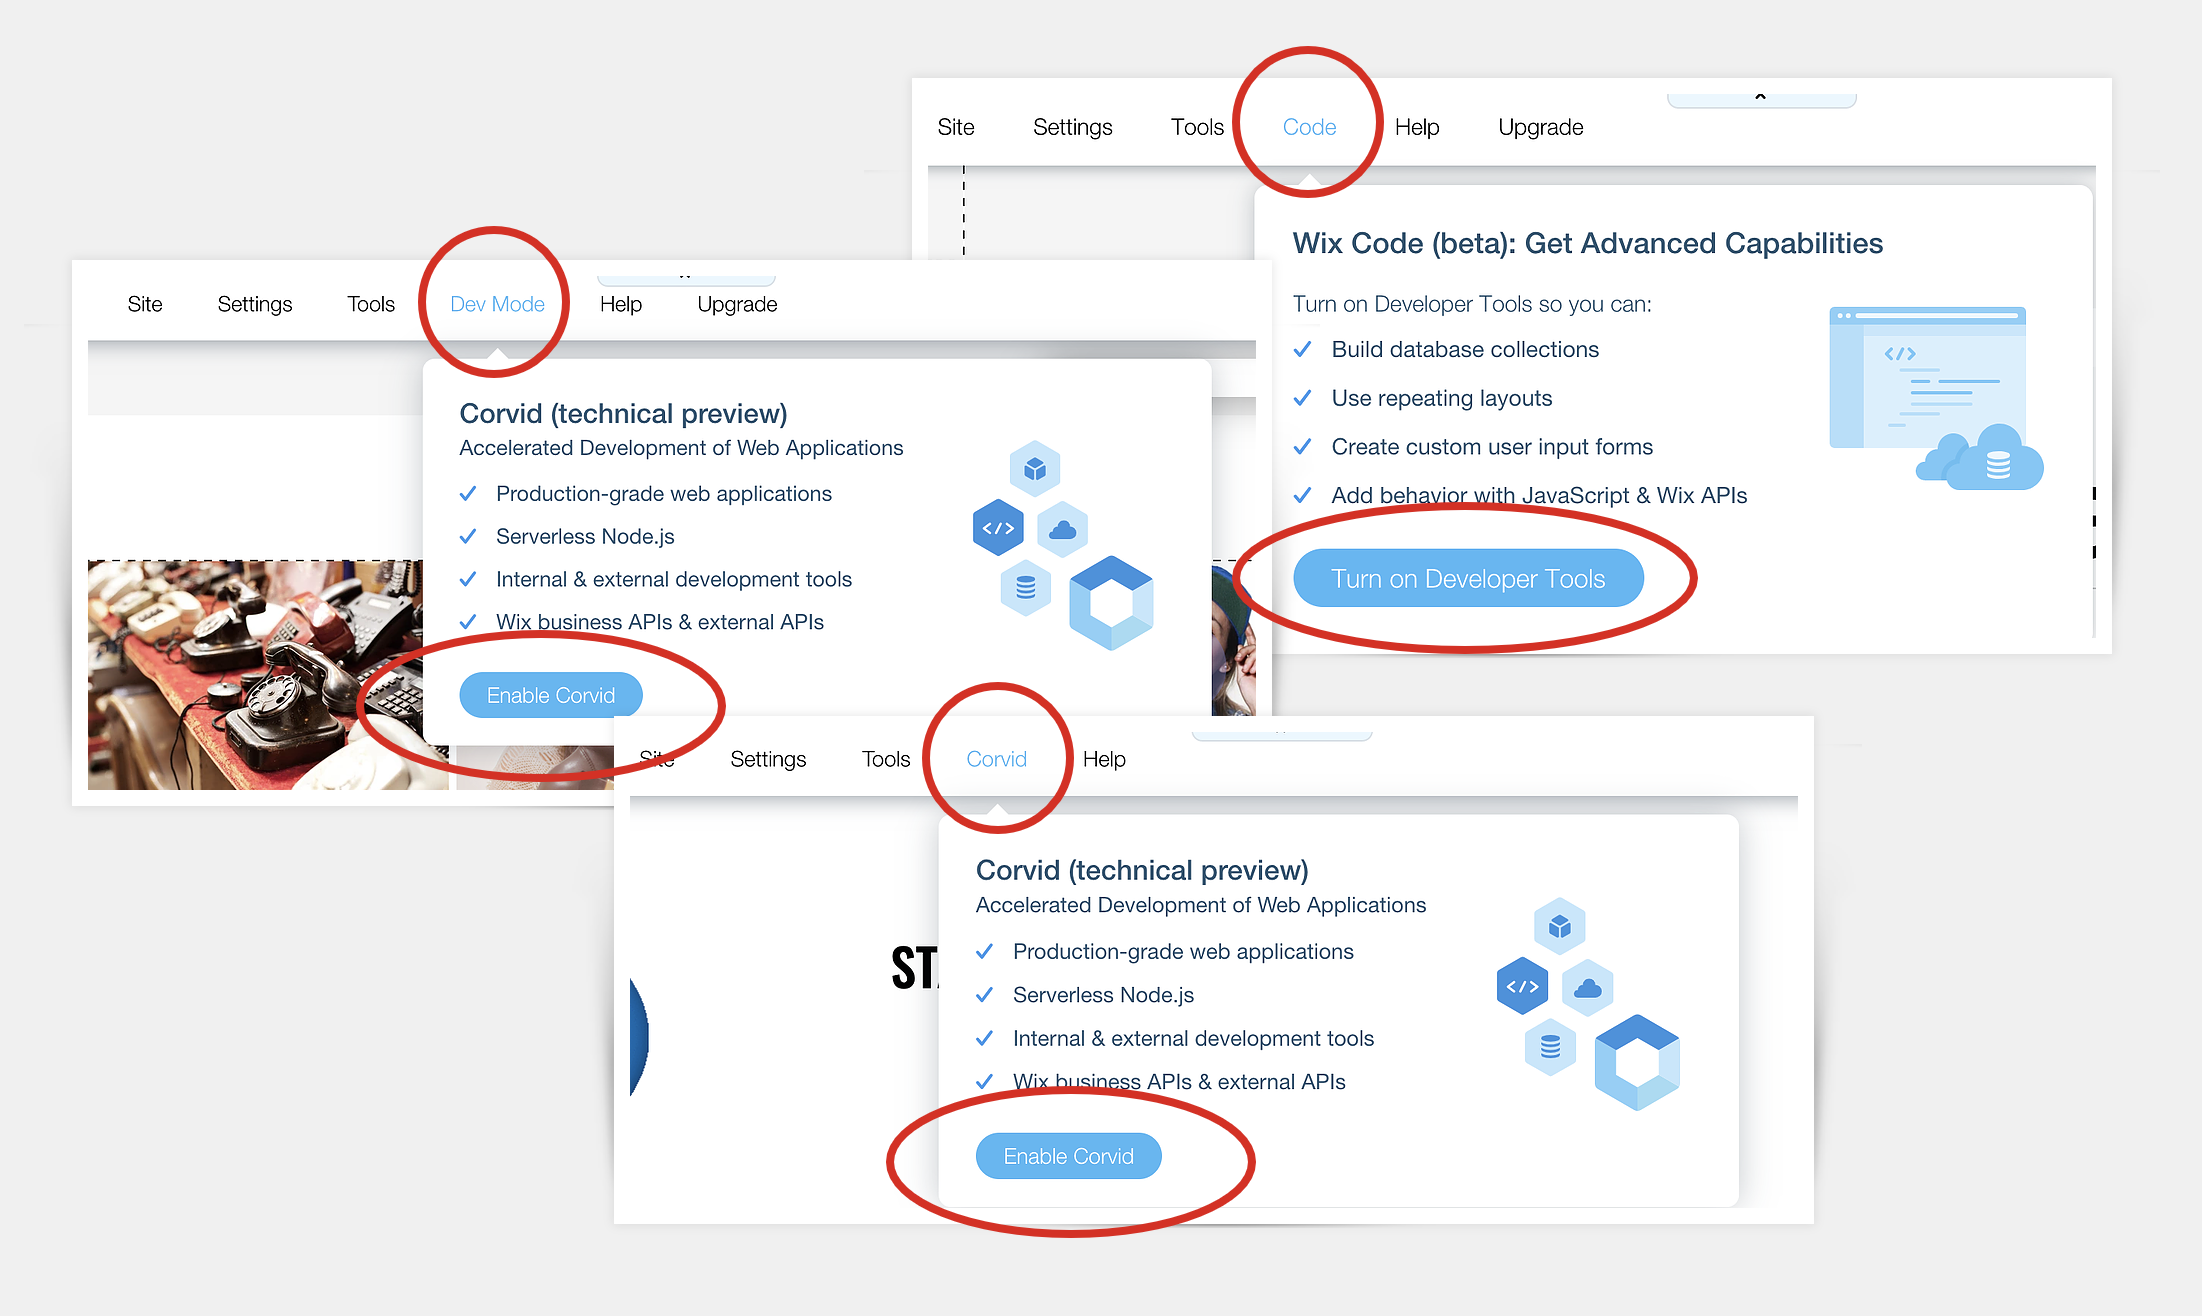
Step 1: Turn on Developer Tools or enable Corvid
Always turn on Developer Tools from inside of the Wix Editor before you begin to code. You may see the word: Code, Corvid or DevMode. The reason for this is because Wix recently renamed Wix Code to Corvid by Wix. It will look something like this:

Tip: Refresh your memoryFeel free to refresh your memory by taking the Wix Code Basics Course found on Totally Codable.
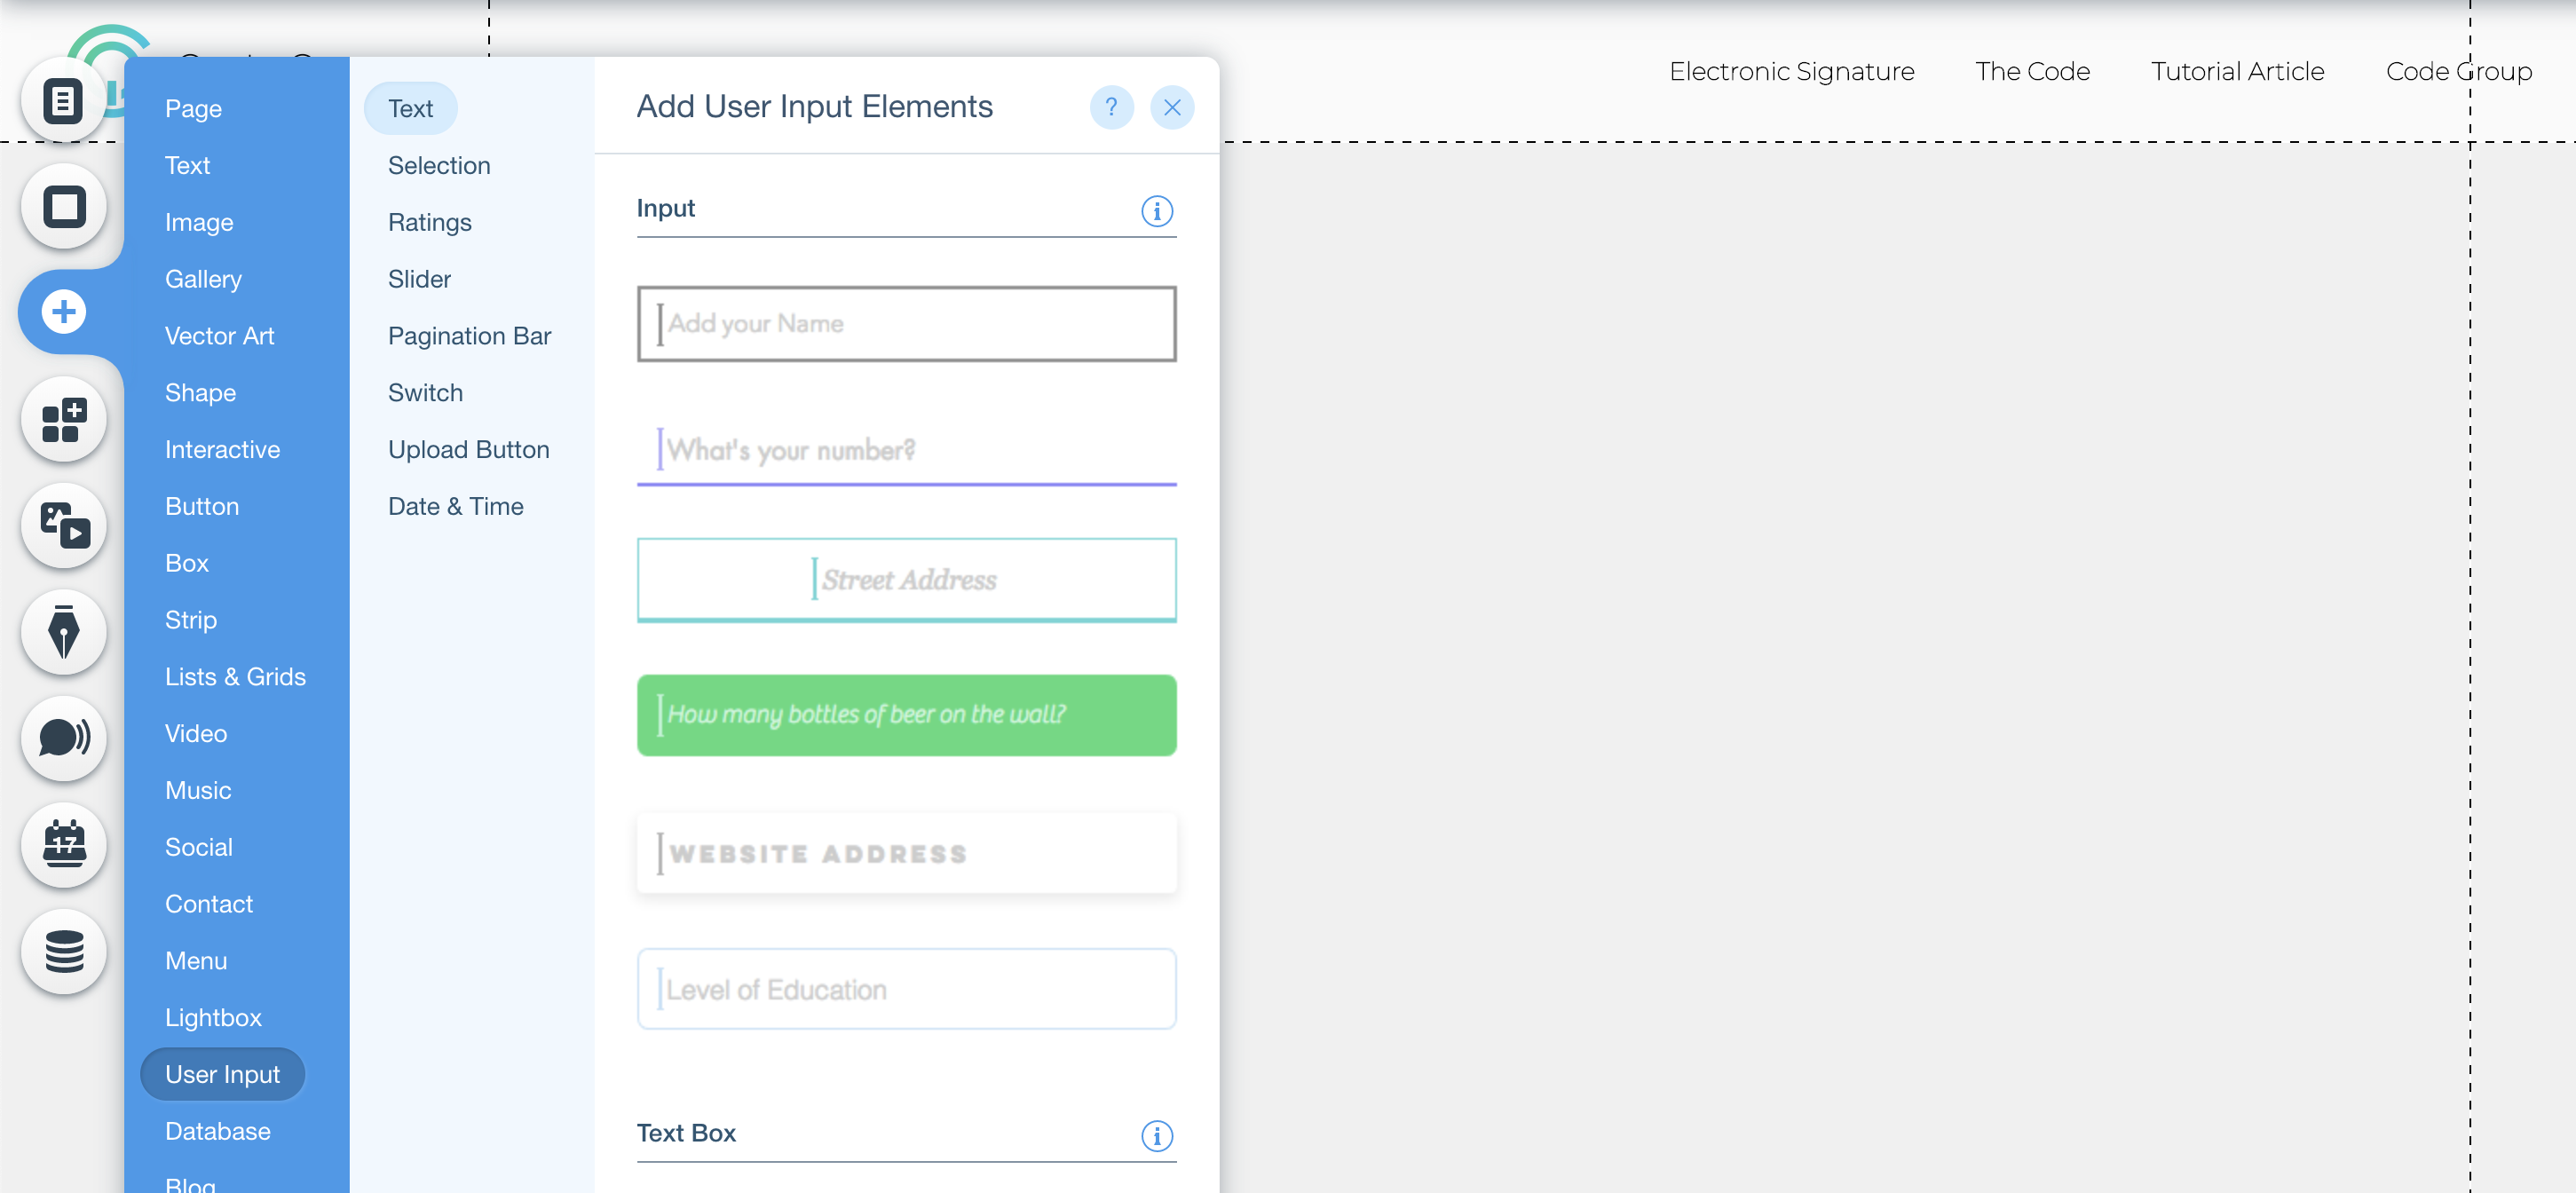
Step 2: Create a form with user input elements
For example, we have used the following user input elements in our form:
- User input element for Full Name
- User input element for Email

Do not use Wix Forms / PresetsMake sure to create your form from scratch in order to follow this tutorial.
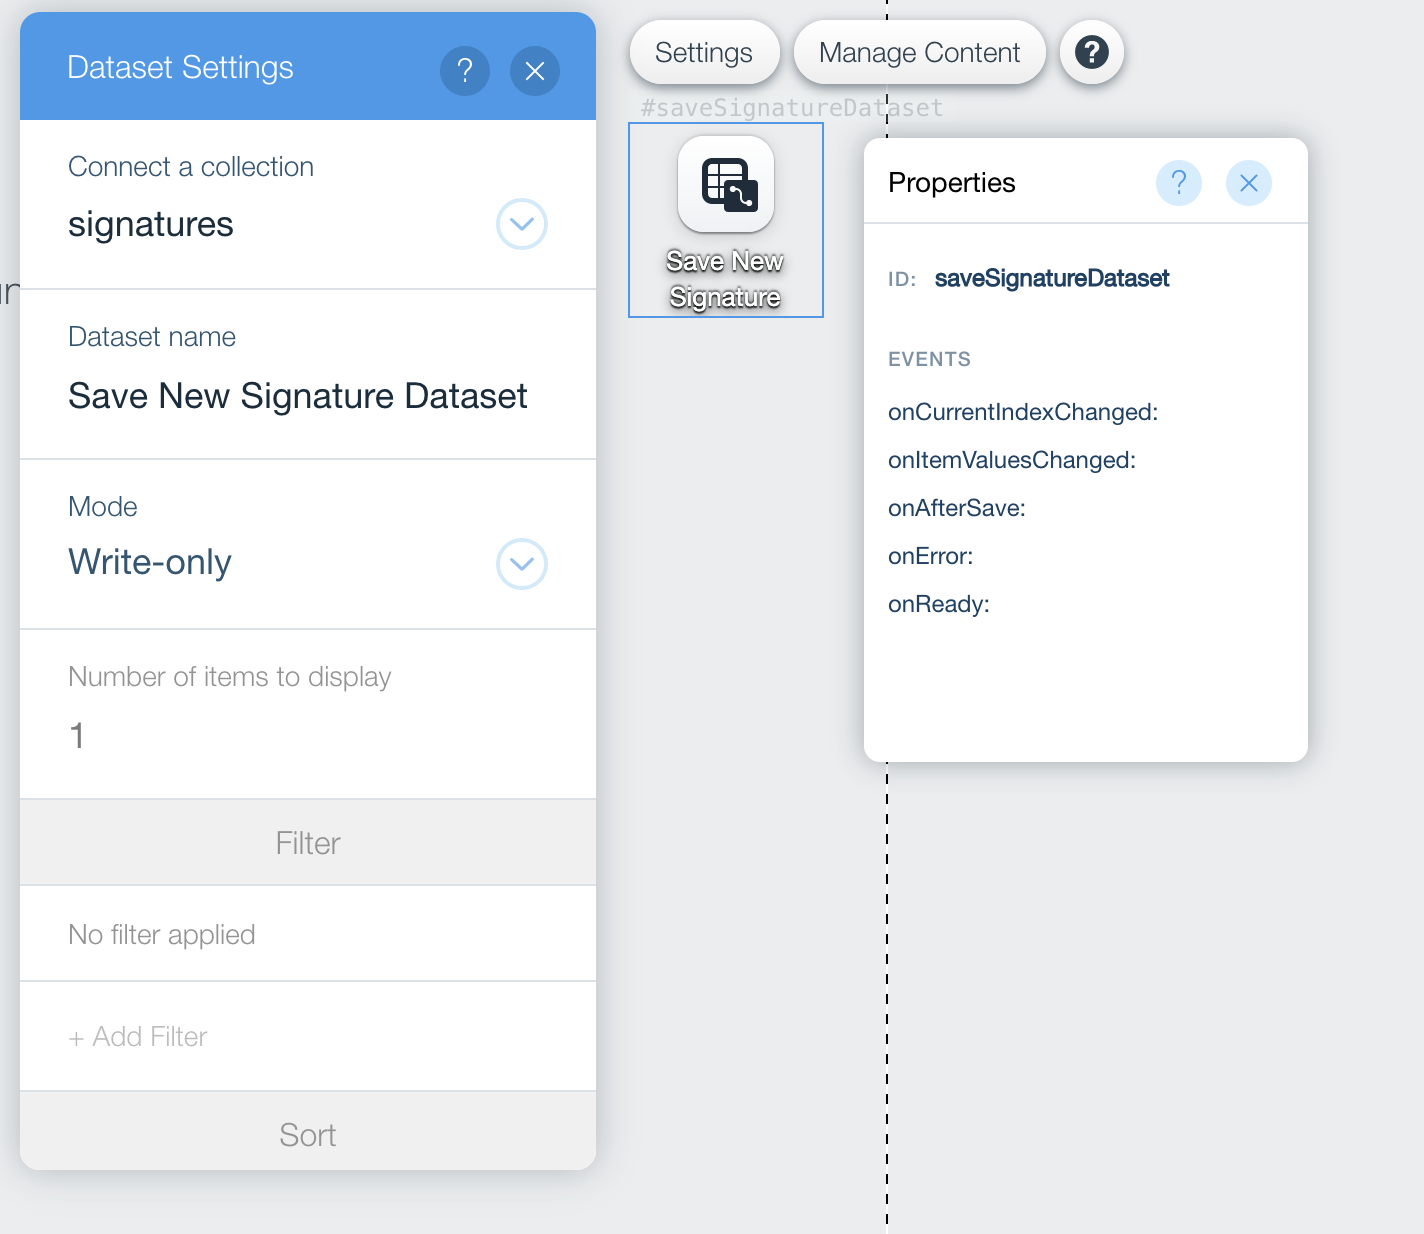
Note the name of our dataset and it's settings from the respective properties panel and settings panel.

Step 3: Connect the elements with Dataset
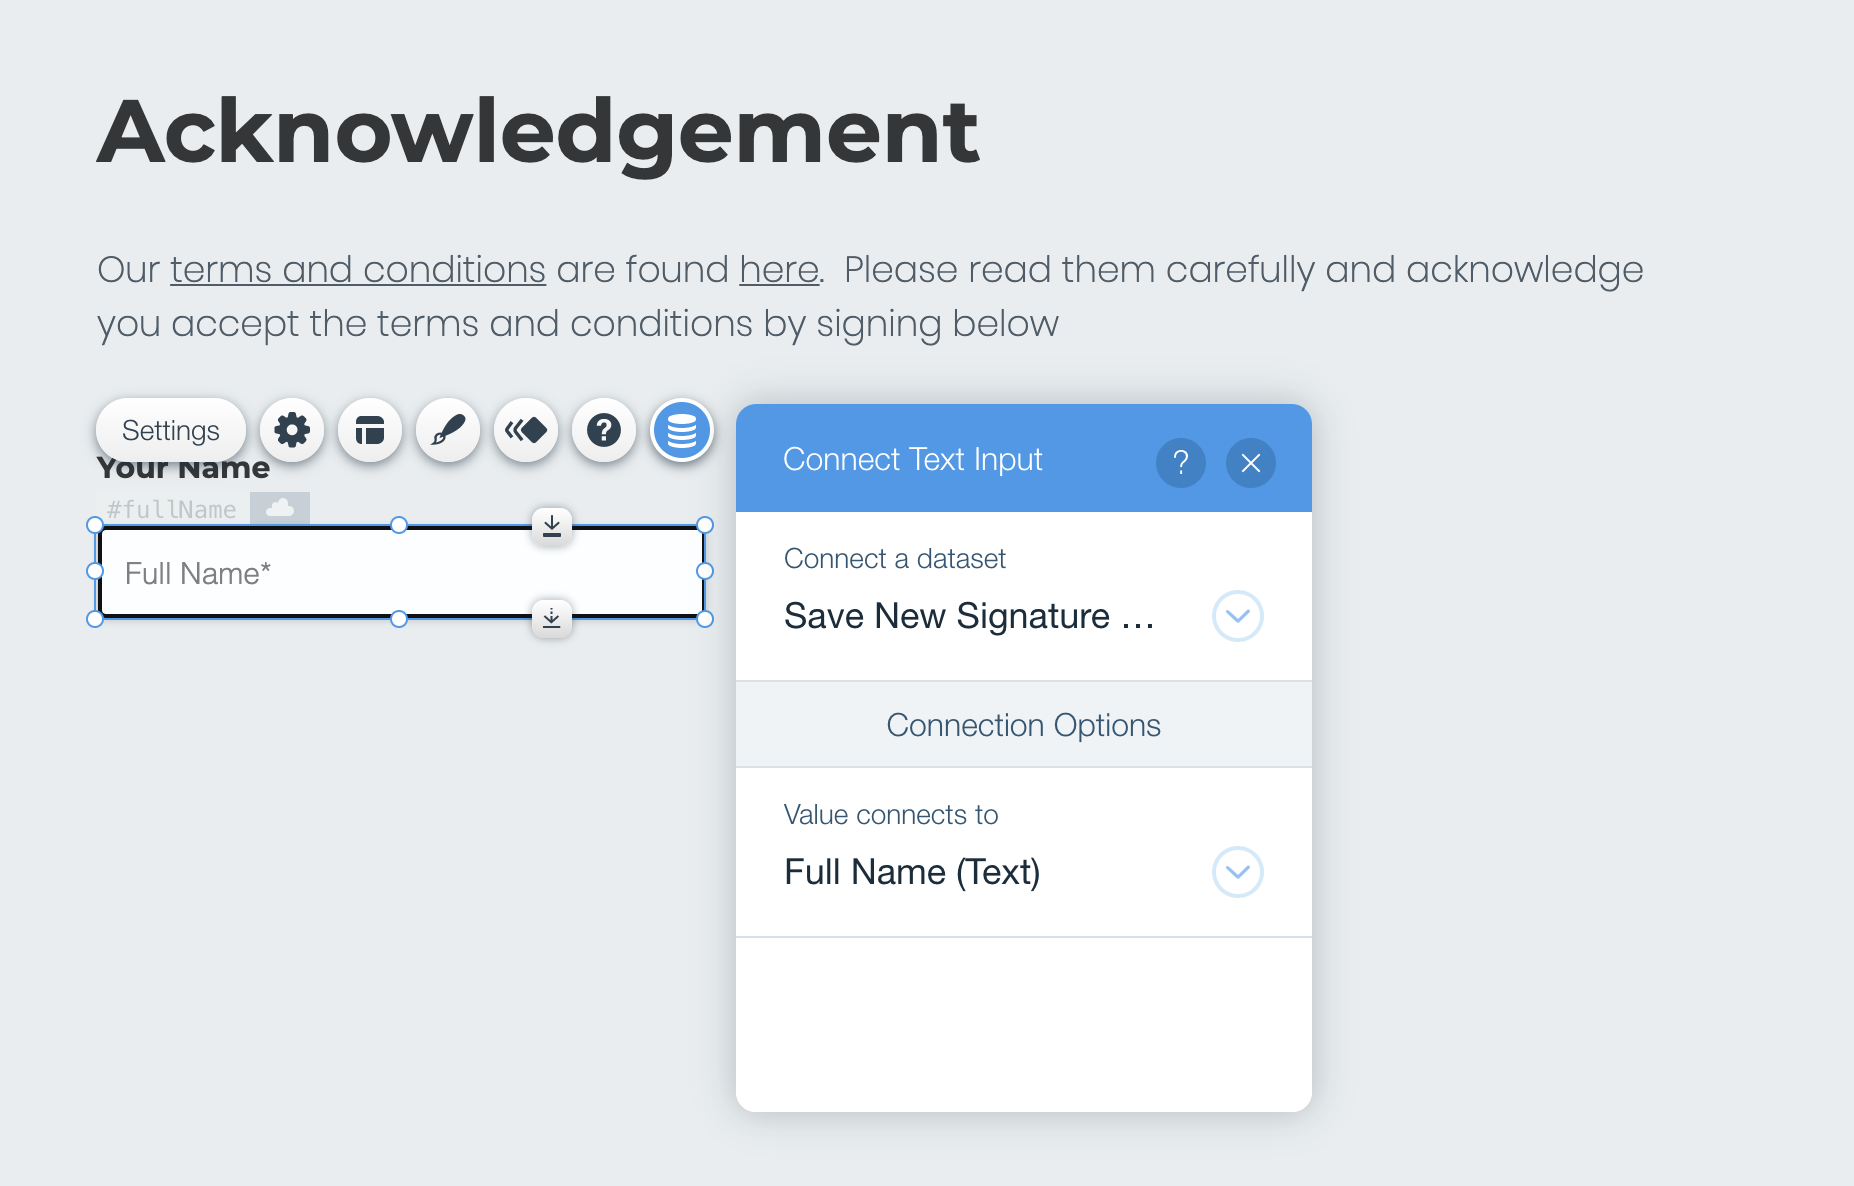
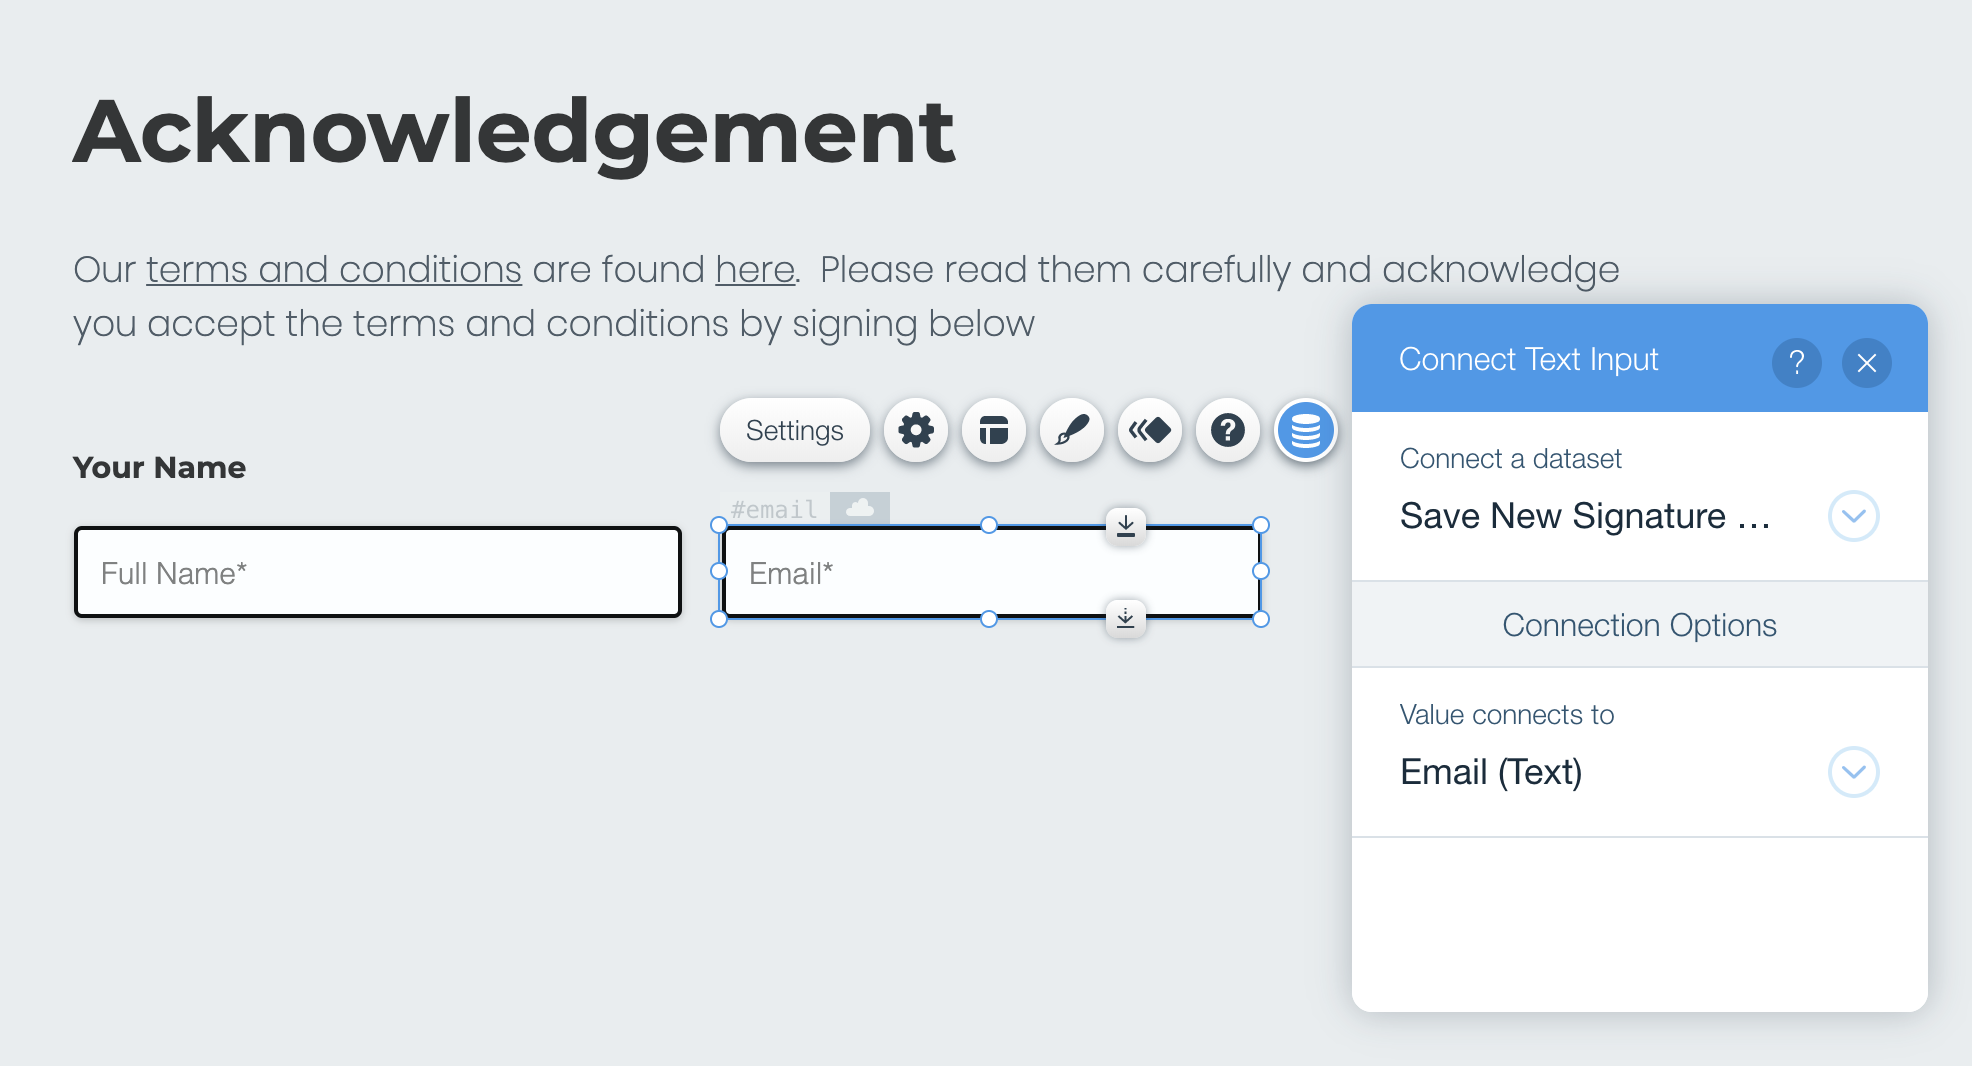
In our example, we decided to add one dataset to the page and connect it to our database collection called 'signatures'. We connected the fullName user input element to our text column called Full Name, and we connected the email user input element to our text column called Email. We connected them directly from the dataset by clicking on the database icon of each element, like this:


Add more elementsIn our example, we only use 2 user input elements, but feel free to add more and customize your form as needed.
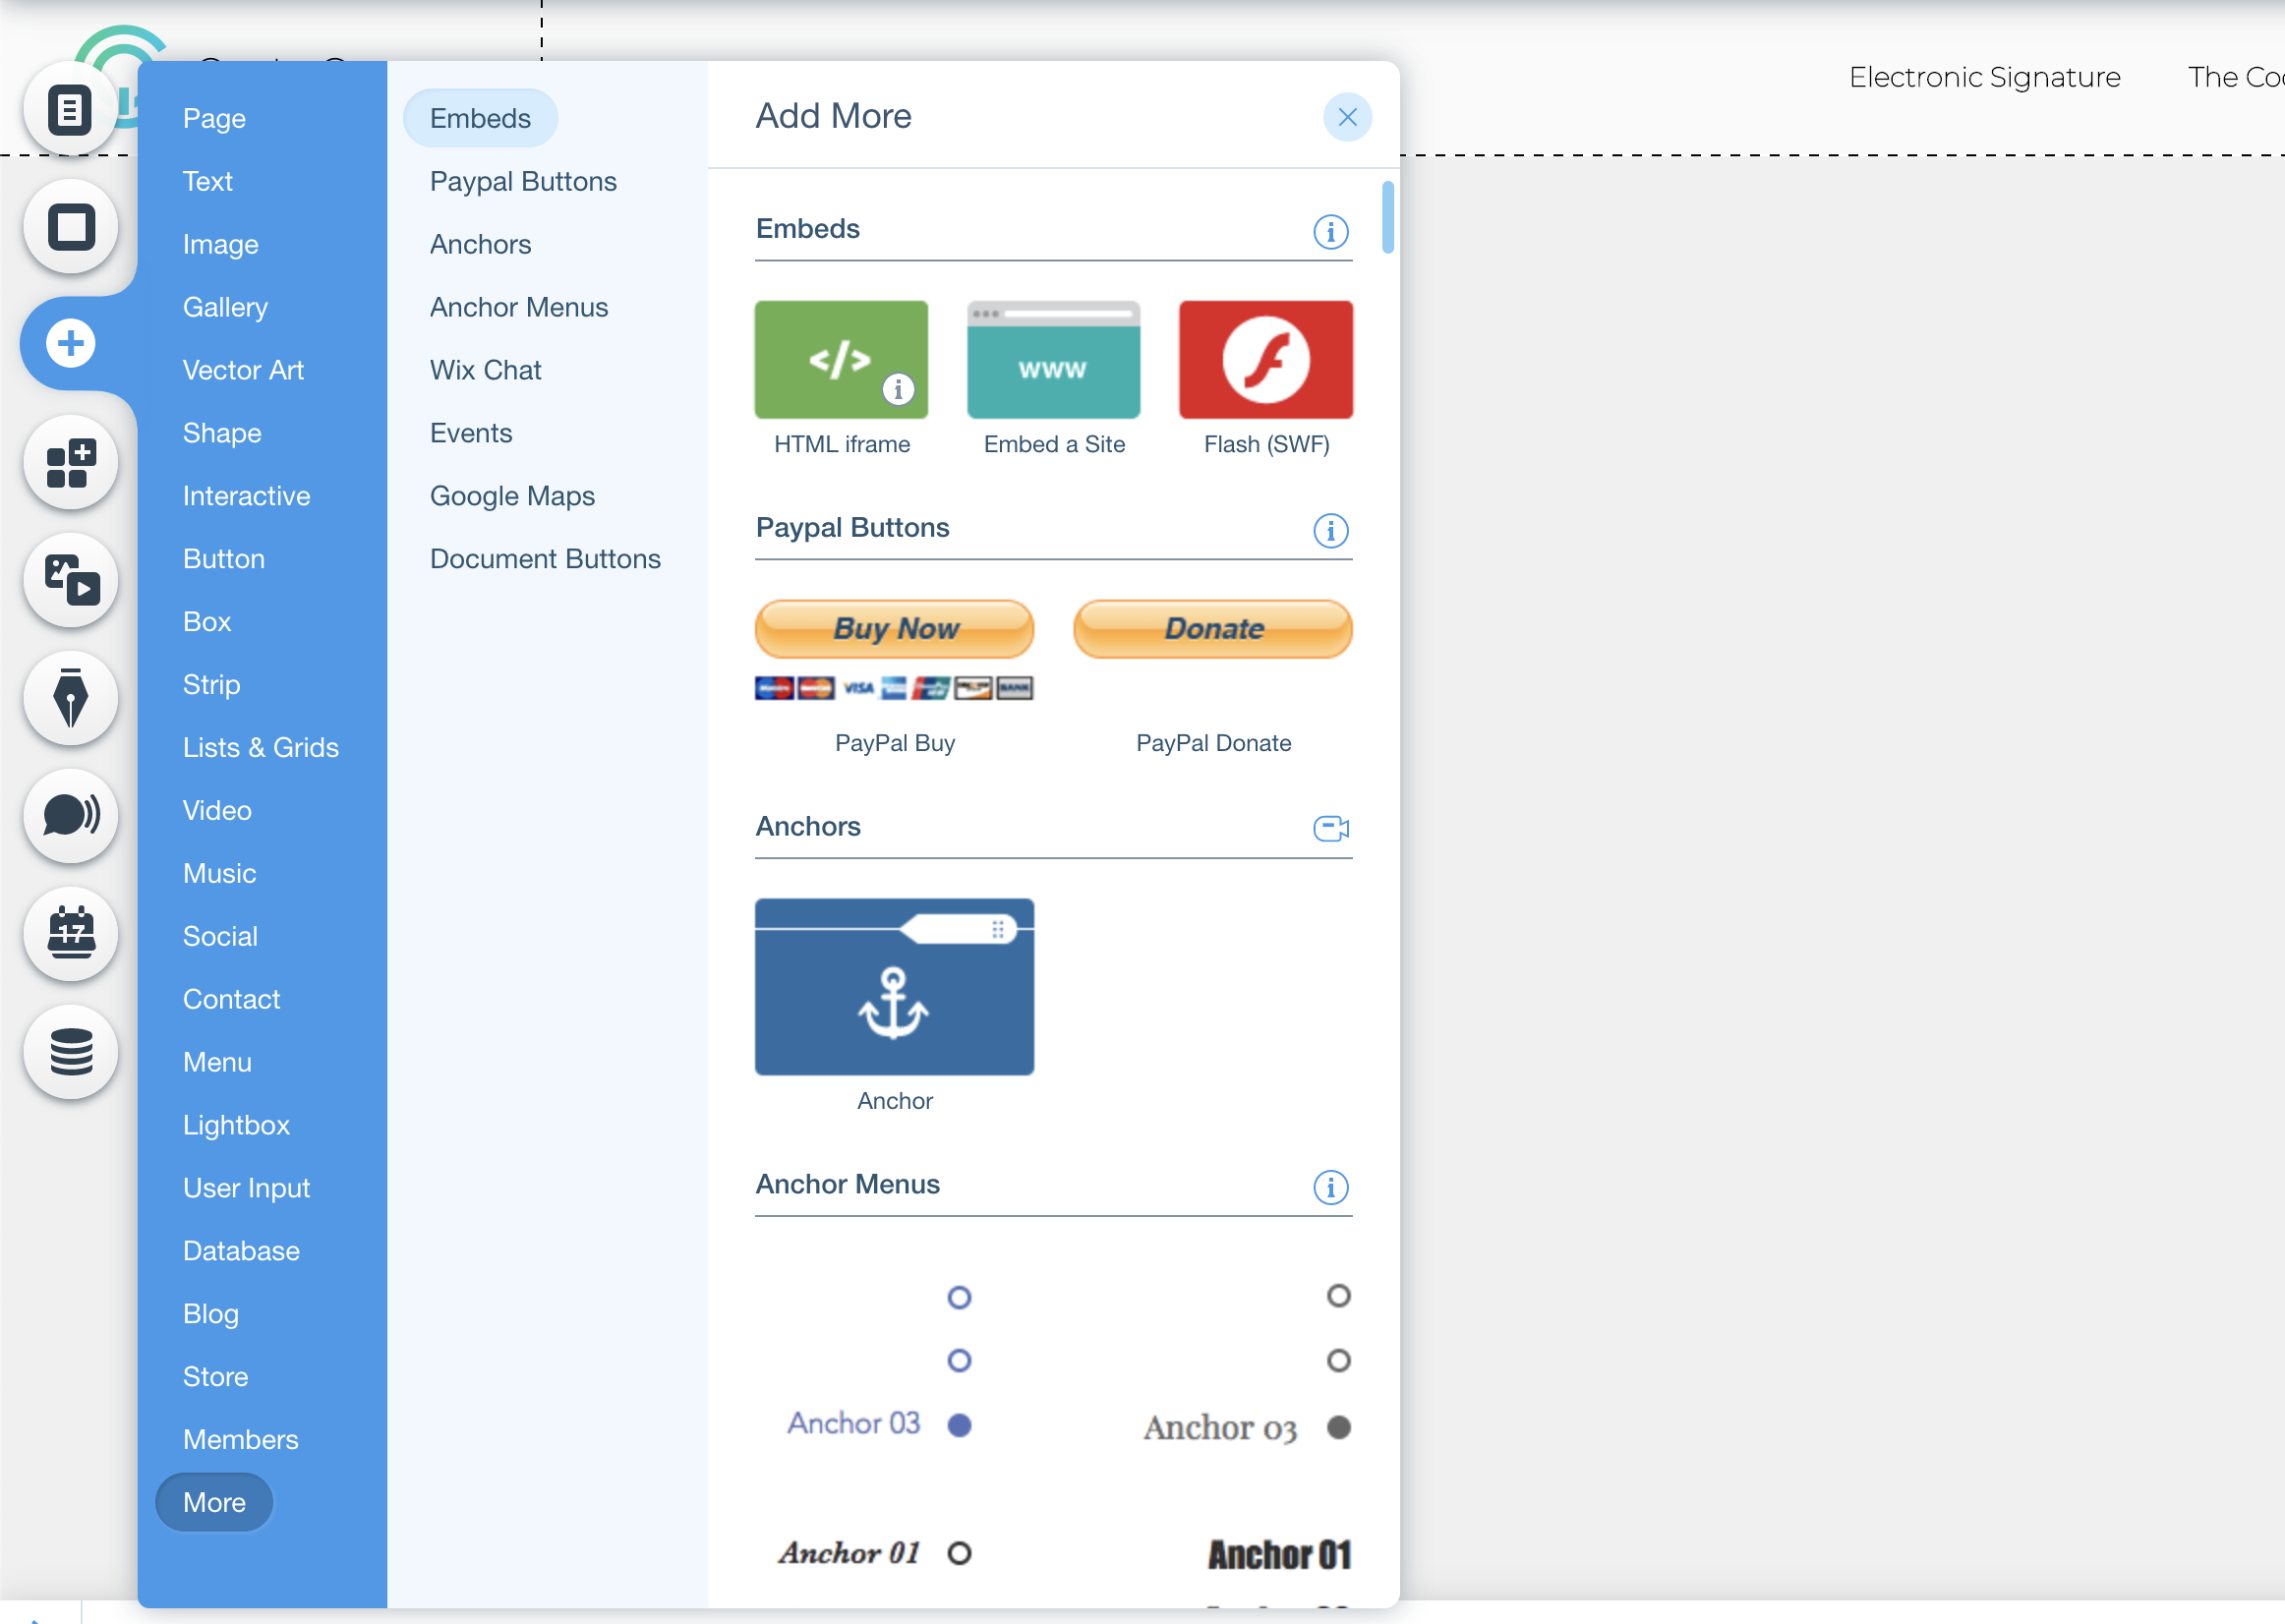
Step 4: Add an HTML (iframe) element
We will be using an HTML (iframe) element to create the signature drawing pad.

The 3rd party code we will be using has been modified by the Code Queen with CSS styling to match the design of the user input elements. Feel free to modify the design in the HTML code as needed.
1 2 3 4 5 6 7 8 9 10 11 12 13 14 15 16 17 18 19 20 21 22 23 24 25 26 27 28 29 30 31 32 33 34 35 36 37 38 39 40 41 42 43 44 45 46 47 48 49 50 51 52 53 54 55 56 57 58 59 60 61 62 63 64 65 66 67 68 69 70 71 72 73 74 75 76 77 78 79 80 81 82 83 84 85 86 87 88 89 90 91 92 93 94 95 96 97 98 99 100 101 102 103 104 105 106 107 108 109 110 111 112 113 114 115 116 117 118 119 120 121 122 123 124 125 126 127 128 129 130 131 132 133 134 135 136 137 138 139 140 141 142 143 144 145 146 147 148 149 150 151 152 153 154 155 156 157 158 159 160 161 162 163 164 165 166 167 168 169 170 171 172 173 174 175 176 177 178 179 180 181 182 183 184 185 186 187 188 189 190 191 192 193 194 195 196 197 198 199 200 201 202 203 204 205 206 207 208 209 210 211 212 213 214<!doctype html> <html lang="en"> <head> <meta charset="utf-8"> <script src="https://cdn.jsdelivr.net/npm/signature_pad@2.3.2/dist/signature_pad.min.js"></script> <title>digitalSign</title> <style> *, *::before, *::after { box-sizing: border-box; } body { display: -webkit-box; display: -ms-flexbox; display: flex; -webkit-box-pack: center; -ms-flex-pack: center; justify-content: center; -webkit-box-align: center; -ms-flex-align: center; align-items: center; height: 100vh; width: 100%; -webkit-user-select: none; -moz-user-select: none; -ms-user-select: none; user-select: none; margin: 0; padding: 0px 0px; background: () repeat scroll center center #b3b3b3; font-family: Helvetica, Sans-Serif; } .signature-pad { position: relative; display: -webkit-box; display: -ms-flexbox; display: flex; -webkit-box-orient: vertical; -webkit-box-direction: normal; -ms-flex-direction: column; flex-direction: column; font-size: 10px; width: 100%; height: 100%; max-width: 600px; max-height: 200px; border: 0px solid #e8e8e8; background-color: #323232; box-shadow: 0 1px 4px rgba(0, 0, 0, 0.27), 0 0 40px rgba(0, 0, 0, 0.08) inset; border-radius: 4px; padding: 2px; } .signature-pad::before, .signature-pad::after { position: absolute; z-index: -1; content: ""; width: 40%; height: 10px; bottom: 10px; background: transparent; box-shadow: 0 8px 12px rgba(0, 0, 0, 0.4); } .signature-pad::before { left: 20px; -webkit-transform: skew(-3deg) rotate(-3deg); transform: skew(-3deg) rotate(-3deg); } .signature-pad::after { right: 20px; -webkit-transform: skew(3deg) rotate(3deg); transform: skew(3deg) rotate(3deg); } .signature-pad--body { position: relative; -webkit-box-flex: 1; -ms-flex: 1; flex: 1; border: 1px solid #f4f4f4; } .signature-pad--footer { color: #C3C3C3; text-align: center; font-size: 1.2em; margin-top: 25px; } .signature-pad--actions { display: -webkit-box; display: -ms-flexbox; display: flex; -webkit-box-pack: justify; -ms-flex-pack: justify; justify-content: space-between; margin-top: 8px; } .text { font-style: bold; font-size: 22px; font-family: "Montserrat", "Montserrat", sans-serif; color: #ffffff; } .button { -webkit-transition-duration: 0.4s; transition-duration: 0.4s; background-color: #164EDB; color: white; width: 204px; height: 40px; border: 0px solid #164EDB; border-radius: 38px; align-items: center; padding: 0px; font-style: bold; font-size: 15px; font-family: "Montserrat", "Montserrat", sans-serif; color: #ffffff; } .button2 { -webkit-transition-duration: 0.4s; transition-duration: 0.4s; background-color: #EBEDEE; color: black; width: 204px; height: 40px; border: 0px solid #EBEDEE; border-radius: 38px; align-items: center; padding: 0px; font-style: bold; font-size: 15px; font-family: "Montserrat", "Montserrat", sans-serif; color: #000000; } .button:hover { background-color: #000000; color: white; } </style> </head> <body> <div> <canvas id="signature-pad" class="signature-pad" width=750 height=200></canvas> <div class="signature-pad--footer"> <div class="signature-pad--actions"> <div> <button type="button" id="save-png" class="button" data-action="save-png">Submit</button> </div> <div> <button type="button" id="clear" class="button2" data-action="clear">Clear Signature</button> </div> </div> </div> </div> </div> <script> var canvas = document.getElementById('signature-pad'); function resizeCanvas() { var ratio = Math.max(window.devicePixelRatio || 1, 1); canvas.width = canvas.offsetWidth * ratio; canvas.height = canvas.offsetHeight * ratio; canvas.getContext("2d").scale(ratio, ratio); } window.onresize = resizeCanvas; resizeCanvas(); var signaturePad = new SignaturePad(canvas, { backgroundColor: 'rgb(255, 255, 255)' }); function signStamp(data) { var data = signaturePad.toDataURL('image/png'); window.parent.postMessage(data, "*"); signaturePad.clear(); } document.getElementById('save-png').addEventListener('click', function () { if (signaturePad.isEmpty()) { return alert("Signature pad is empty.") } else { signStamp(); } }); document.getElementById('clear').addEventListener('click', function () { signaturePad.clear(); }); </script> </body> </html>
Hire an Expert Designer & Coder
Hire the Code Queen: www.mycodequeen.com/contact
GitHub - Signature PadYou can read more about the source of the code here: https://github.com/szimek/signature_pad
You can test this code live on GitHub: http://szimek.github.io/signature_pad/
You can test this code live on GitHub: http://szimek.github.io/signature_pad/
Step 5: Add the Code to your Page
Now you will write a code to retrieve the image created by the HTML code to be set as the value in our dataset and then save the dataset. The code in our example looks like this:
1 2 3 4 5 6 7 8 9 10 11 12 13 14 15 16 17 18$w.onReady(function () { $w("#html1").onMessage((event) => { let signStamp = event.data; console.log(signStamp); $w("#saveSignatureDataset").setFieldValue("signature", signStamp); $w("#saveSignatureDataset").save() .then(() => { //do something after the code saves, such as redirect to another page or show a thank you message. // In our example we collapse and expand a thank you strip. }) .catch((err) => { let errMsg = err; }); }); });
Element ID NameYou can click on the ID name to change it to something else. It is always good practice to change the ID name to something that can easily be remembered and identified in the Code Panel especially when you have many elements you may be coding. Remember that the ID name must be unique so your code knows which element you are referring to.
No spaces & Upper Case and Lower Case matterWhen re-naming your element ID's you cannot use spaces, you cannot start with a number and upper & lower case matters when typing in the element ID's in your code.
Step 6: Understanding the Page Code to modify it
We have the onReady function that begins on line 1 and ends on line 18 in our example. Everything in between are simply the lines of code we want to happen after the page is on ready but that are triggered by a specific event. In our example, this event is the onReady after our page loads and our html1 element has sent us a message as seen on line 2. On line 3, we give this event a variable name and call it signStamp. The signStamp represents the image URL that was created after clicking the submit button within our HTML iframe. On line 6 and 7, we set the value of our image column and trigger the save function of our dataset.
Bonus: What you should know
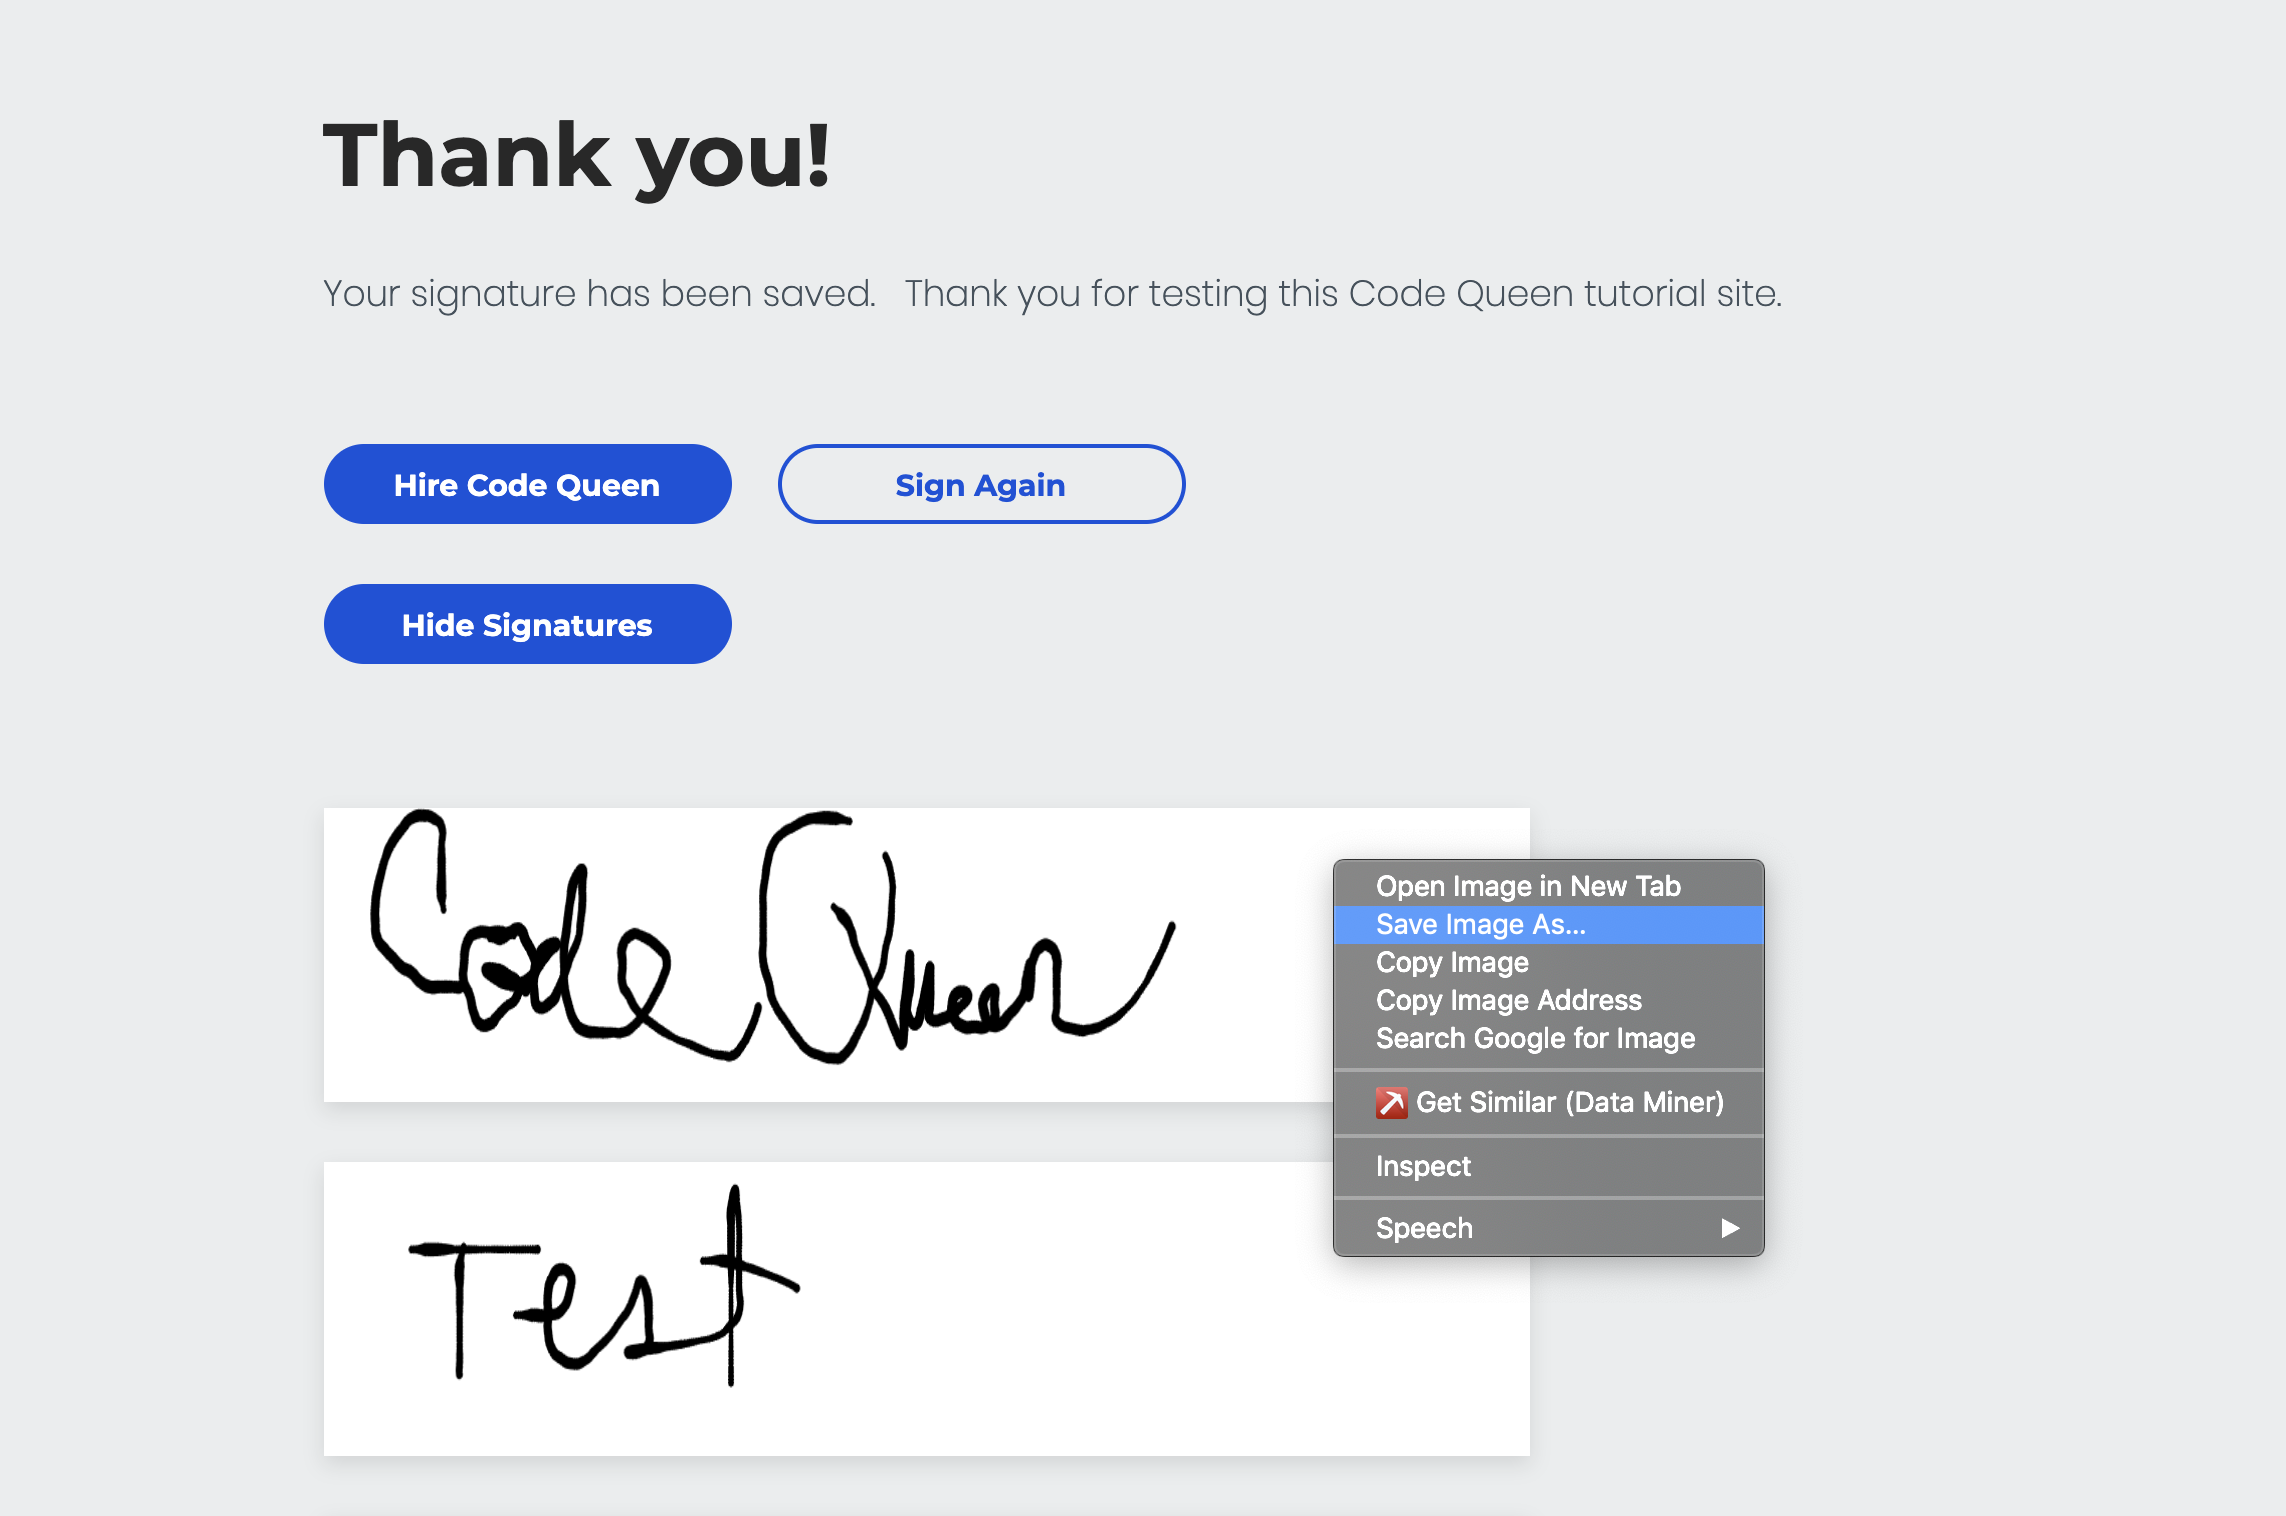
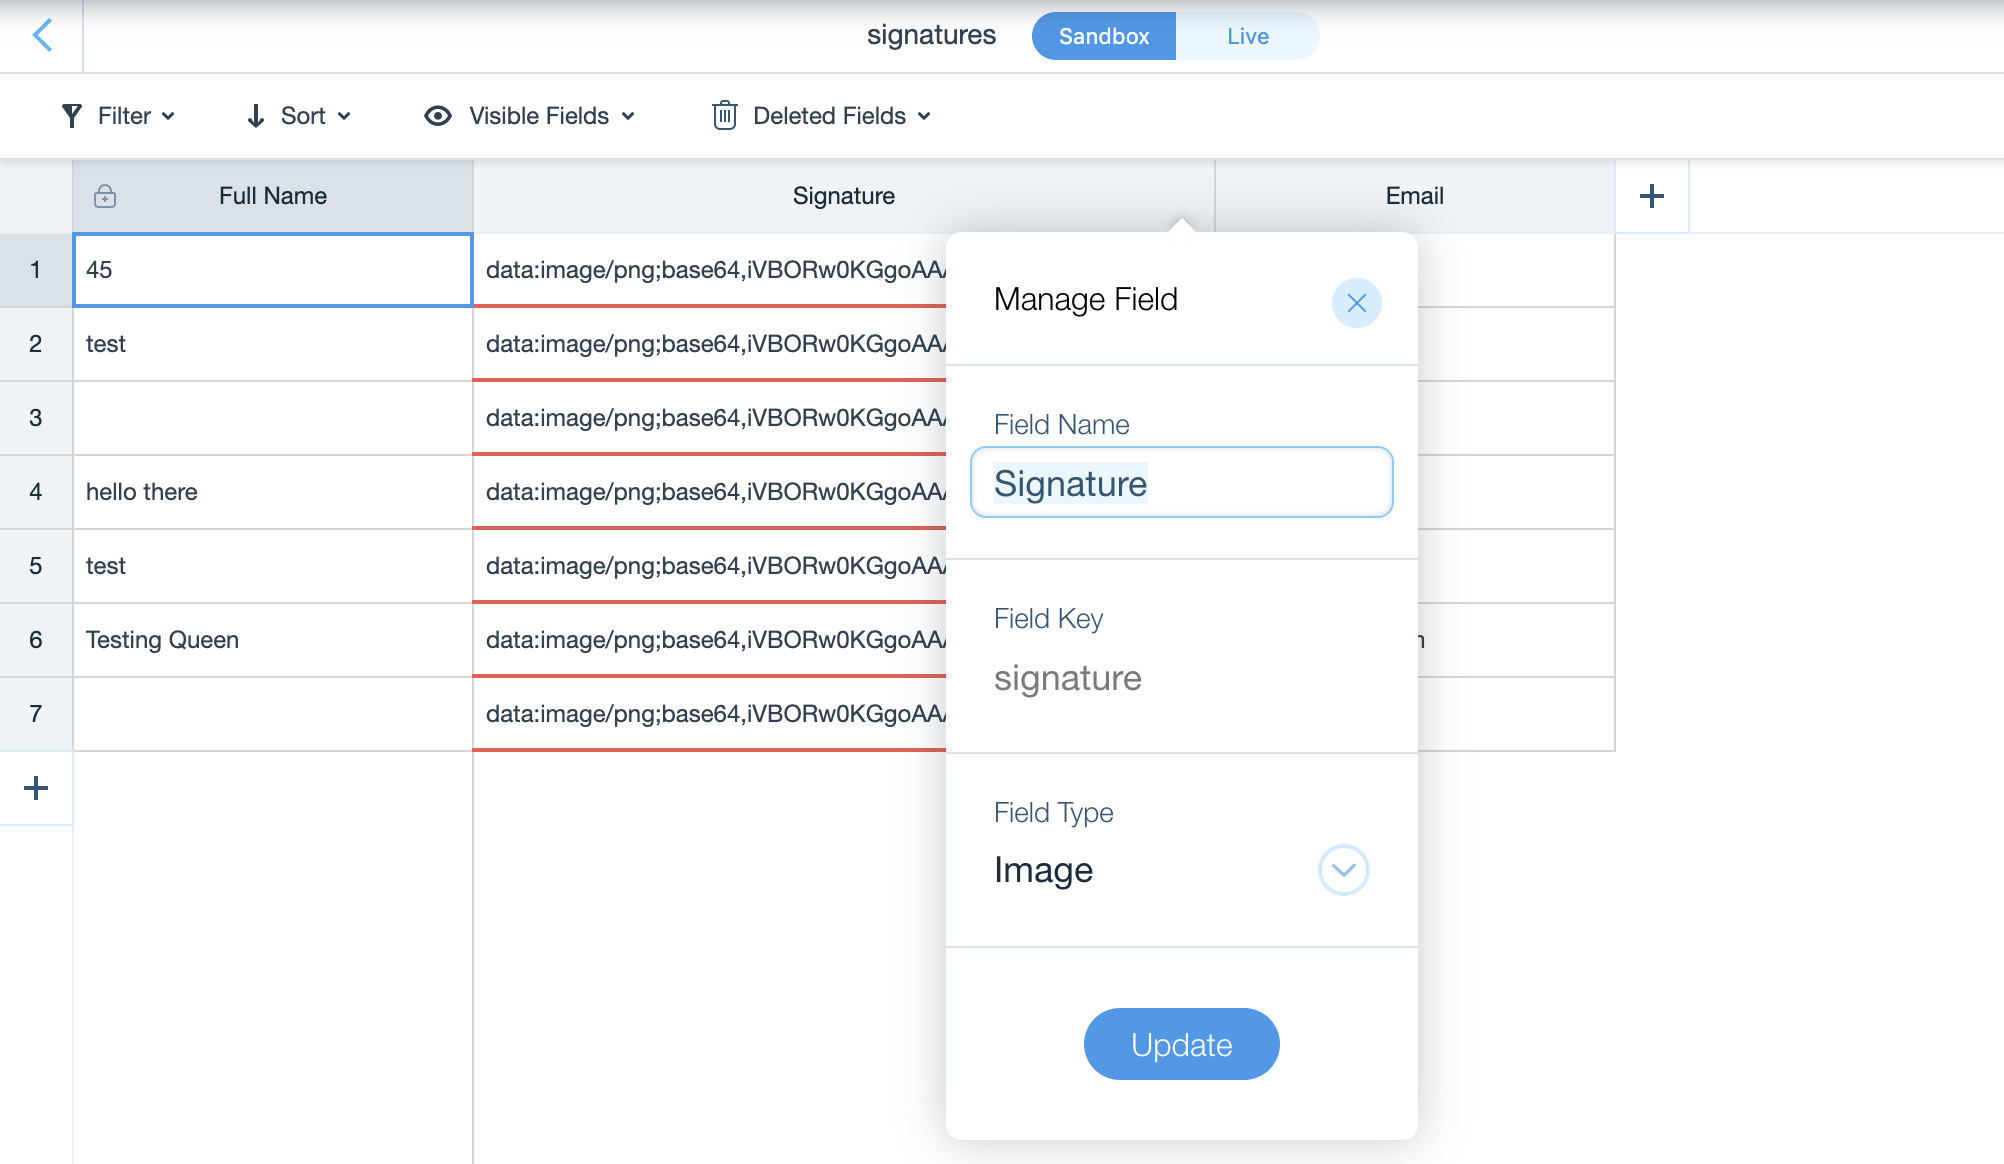
Because the 3rd party code creates an image URL, we selected 'image' as the type of field for our signature column. You will notice that the data is underlined in red, this is because the URL is not compatible to insert a copy of the image in the Wix Database. This will still allow you to view the submitted signatures and even allow you to right-click to save the image when displaying it on a page. This is what the signatures look like when connected via a dataset and a repeater:

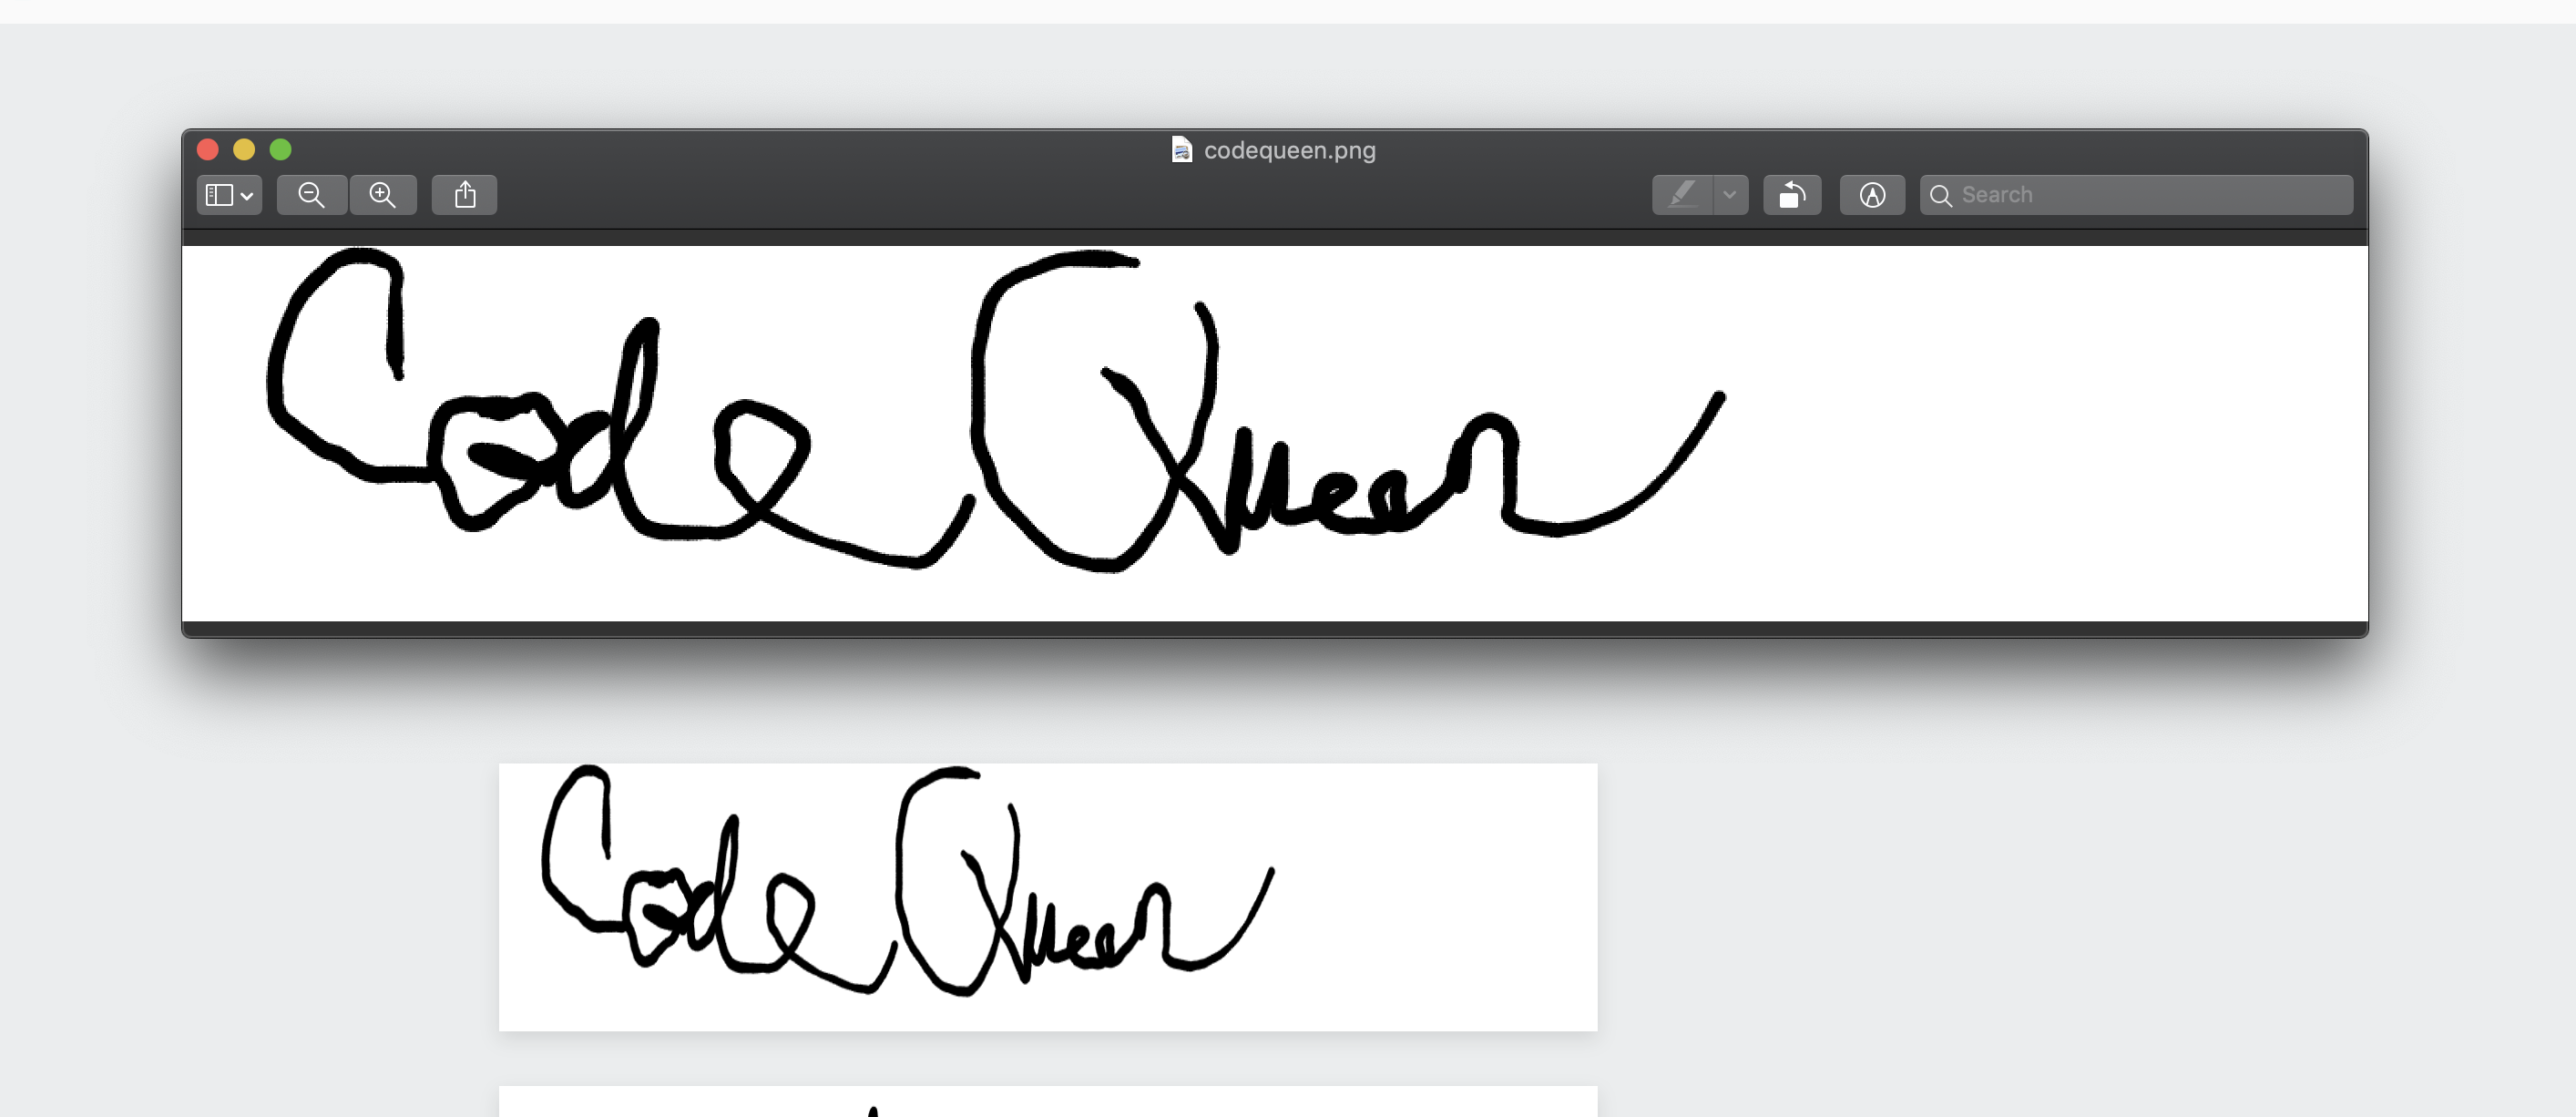
And this is what it looks like when you download the image as a file on your computer:

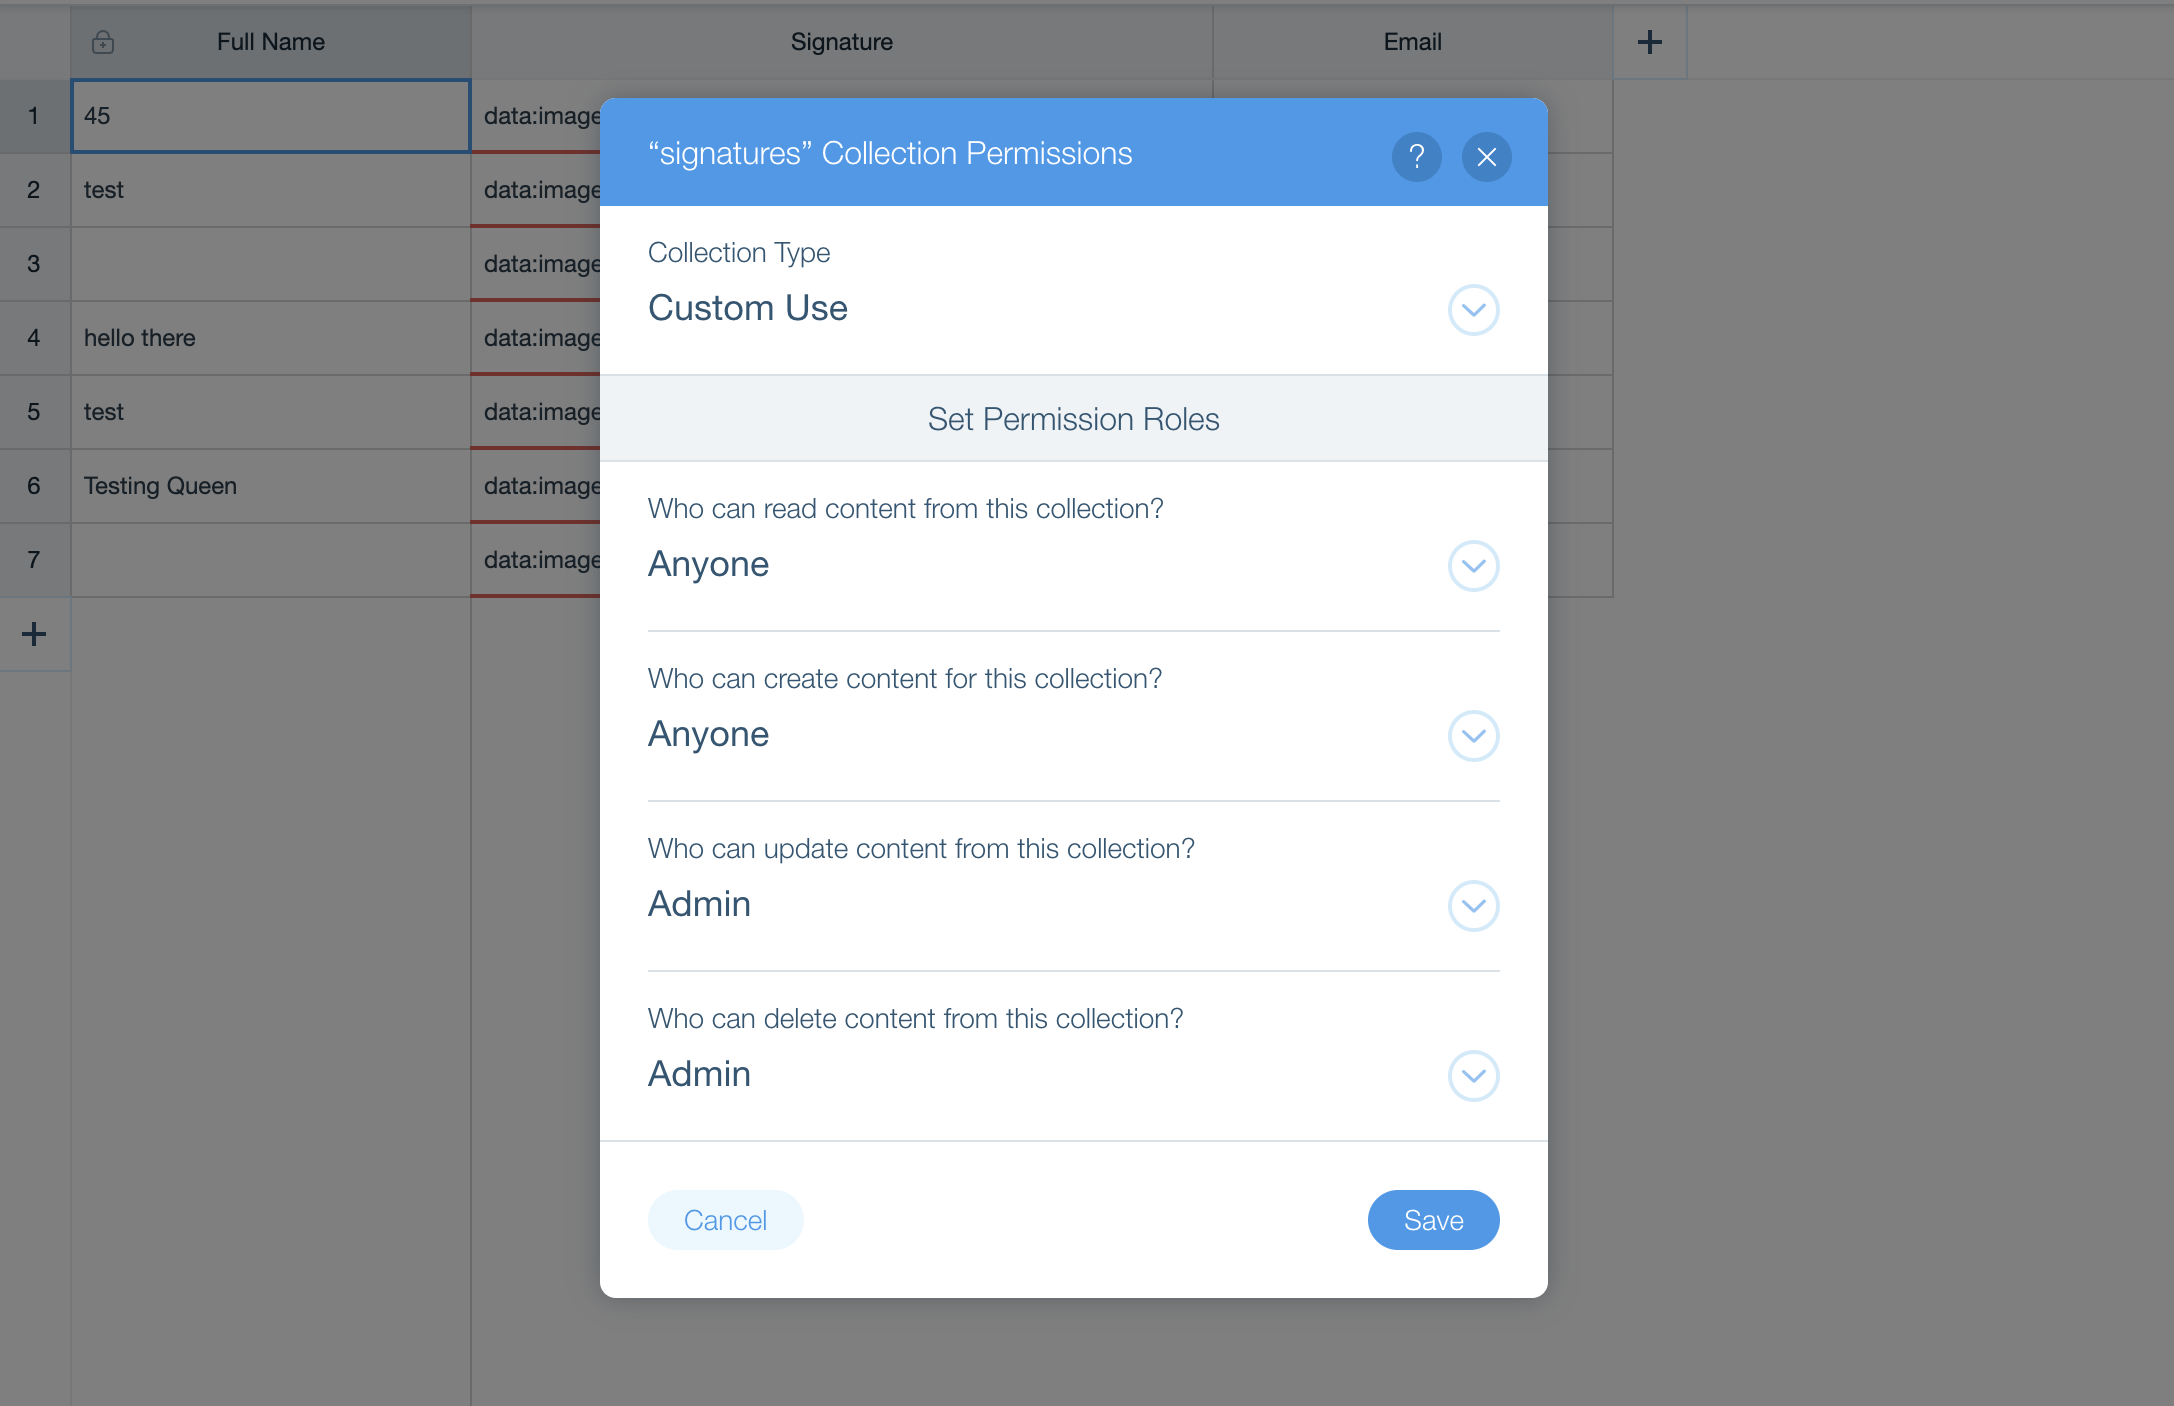
In our example, we have the following fields in our database collection with the respective settings:


Live ExampleYou can visit this website to view a live example of a custom Wix Form that captures and saves an electronic signature:
https://codequeen.wixsite.com/electronic-signature
https://codequeen.wixsite.com/electronic-signature

0 comentarios:
Publicar un comentario