
Dreamcast controller to USB adapter
Contents
Introduction
Dreamcast to USB
Features:
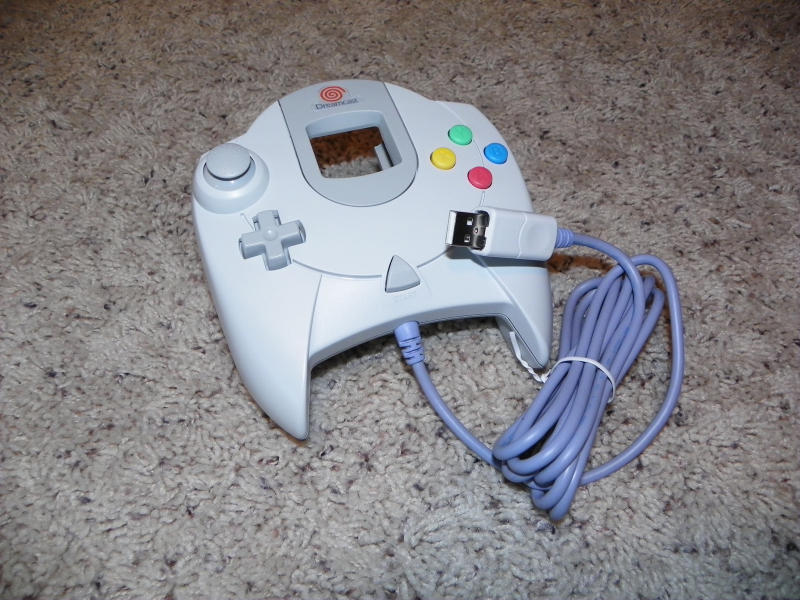
- Standard Dreamcast controller support. (Tested with Sega HKT-7700 and and Peformance P-20-007)
- Dreamcast keyboard support. (Tested with: HKT-4000, HKT-7600 and HKT-7631)
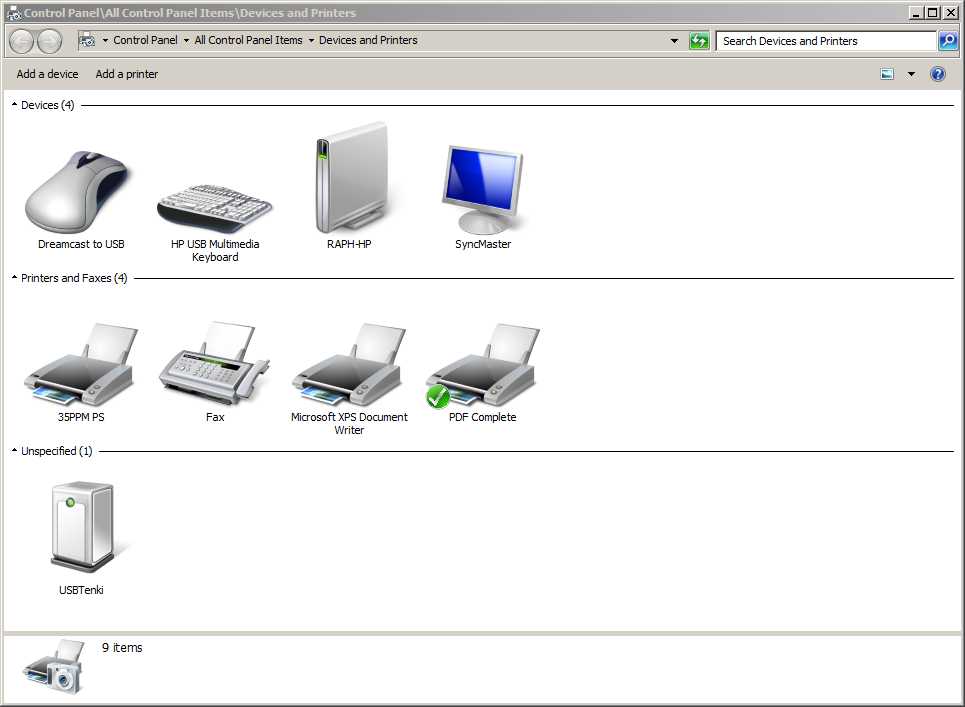
- Standard USB HID interface. (Tested with Linux and Win7)
- Works well with the nulldc emulator.
- Arcade style controllers should also work. (Not tested)
- Incomplete (wheel not working) mouse support. (Tested with HKT-4200)
A few items based on this project or otherwise related are available in my store:
| Dreamcast controller to USB circuit |
| Dreamcast controller to USB adapter |
| Dreamcast controller extension |
Pictures
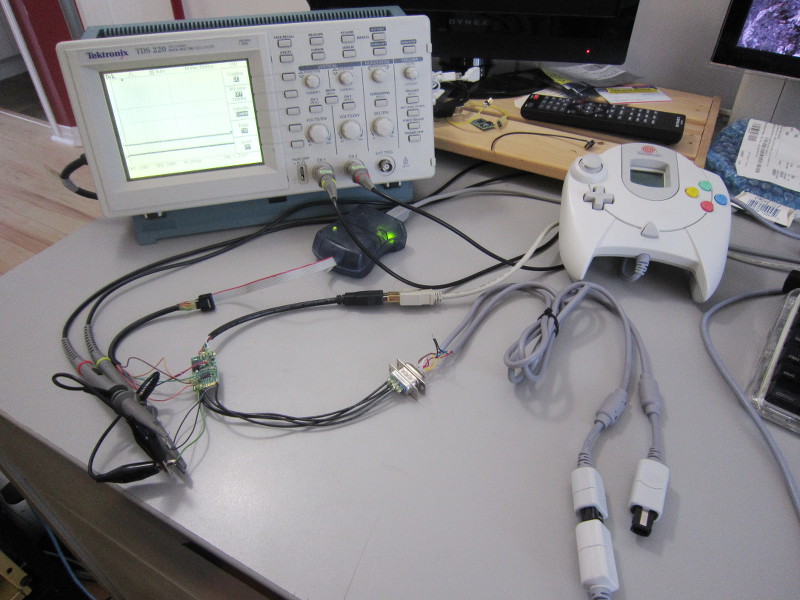
My development setup
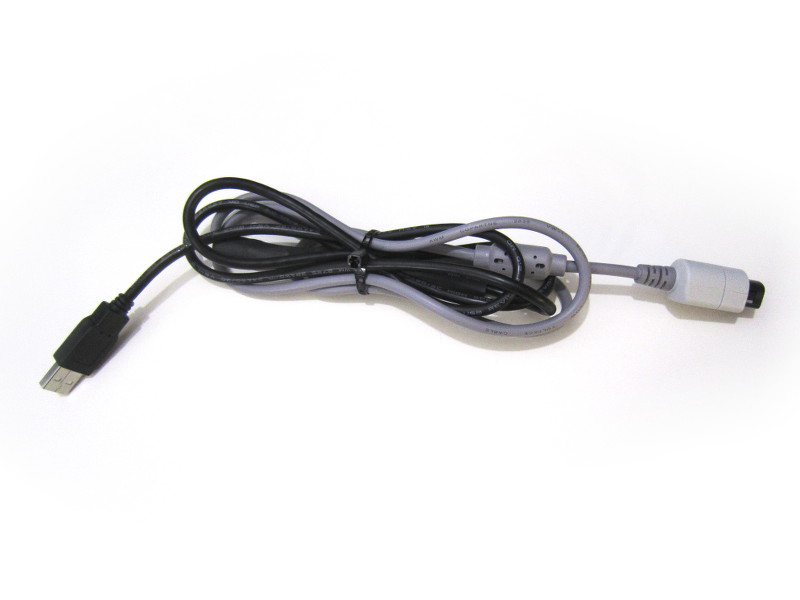
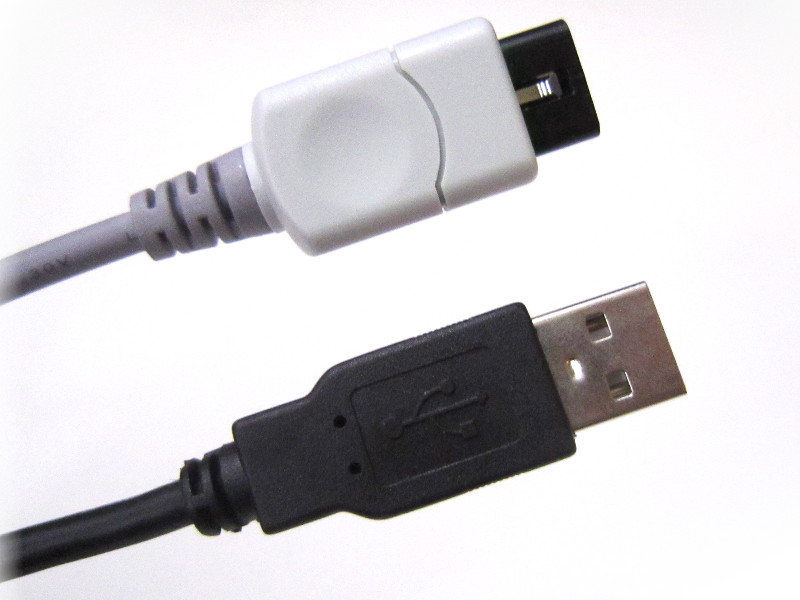
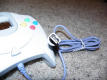
Completed adapter

Tested controller: HKT-7700
![Tested mouse <sup>[1]</sup> : HKT-4200](https://www.raphnet.net/electronique/dreamcast_usb/HKT-4200.jpg)
Tested mouse [1] : HKT-4200
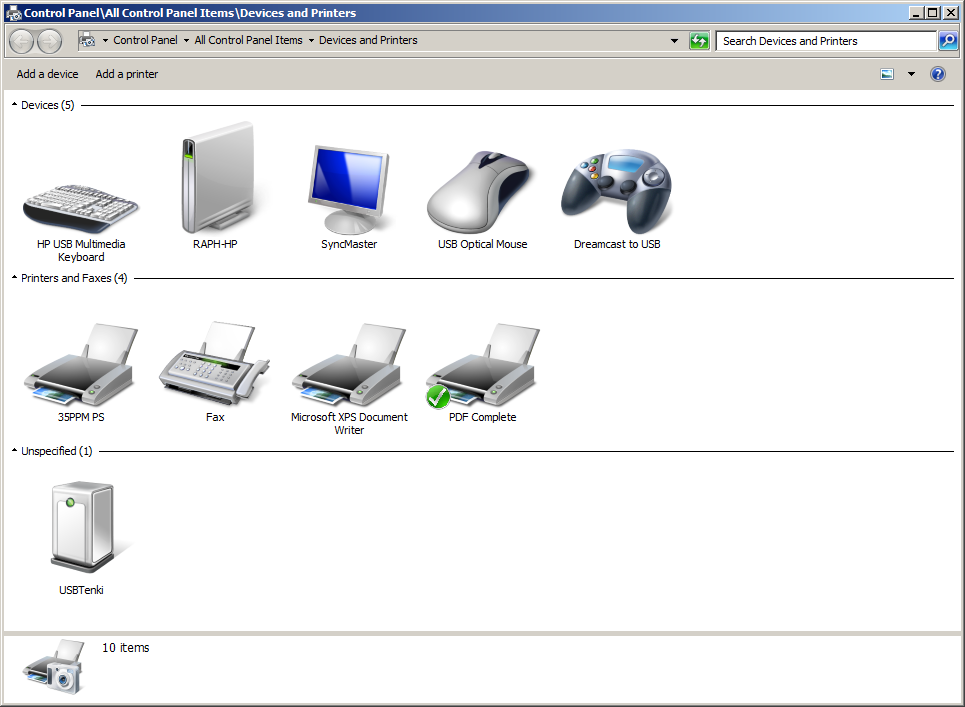
Controller under win7
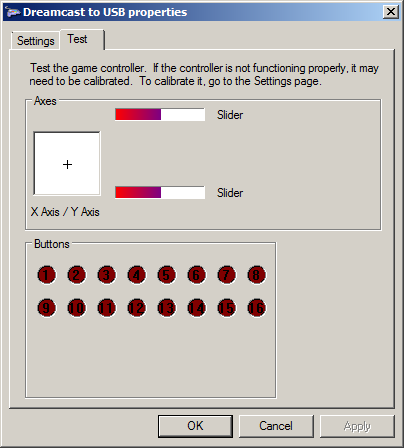
Controller under win7
Mouse under win7
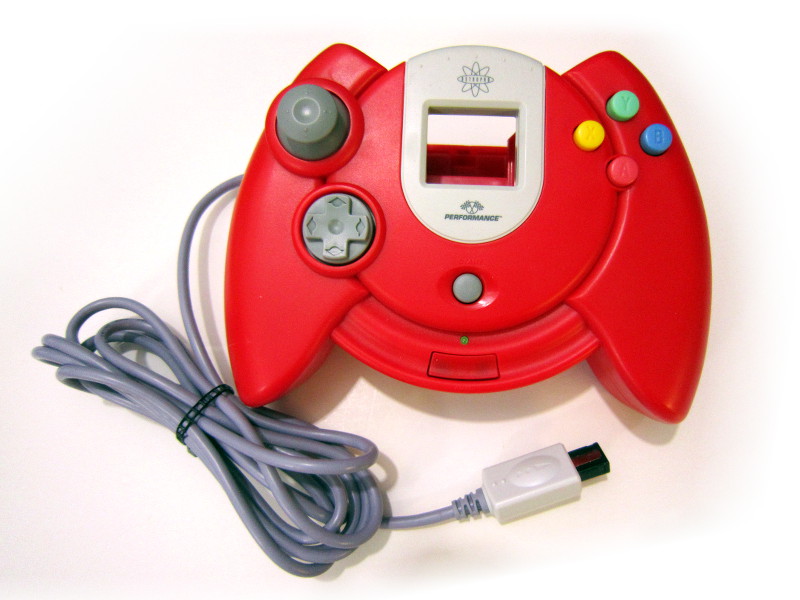
Performance P-20-007

Tested keyboard: HKT-4000
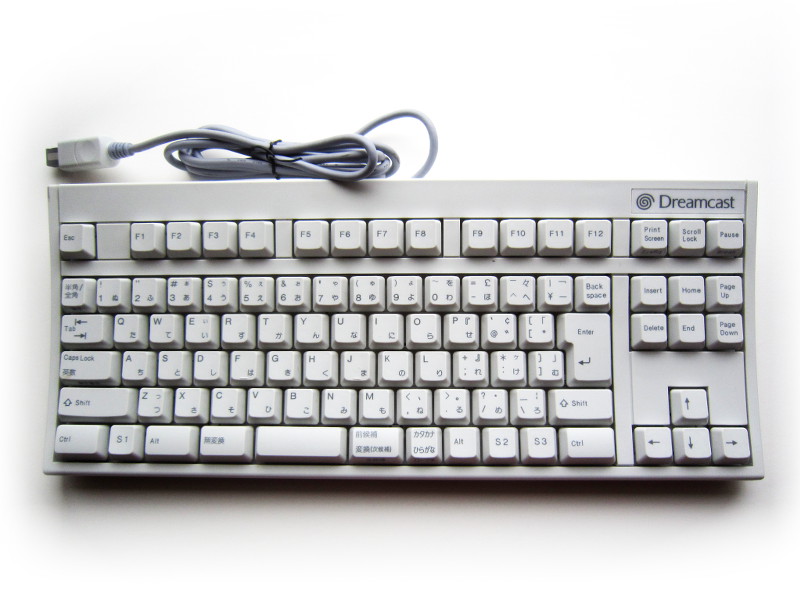
Tested keyboard: HKT-7600

Keyboard under Win7
Keyboard under Win7
[1]: Mouse support is incomplete (wheel not working).
Schematic

Schematic
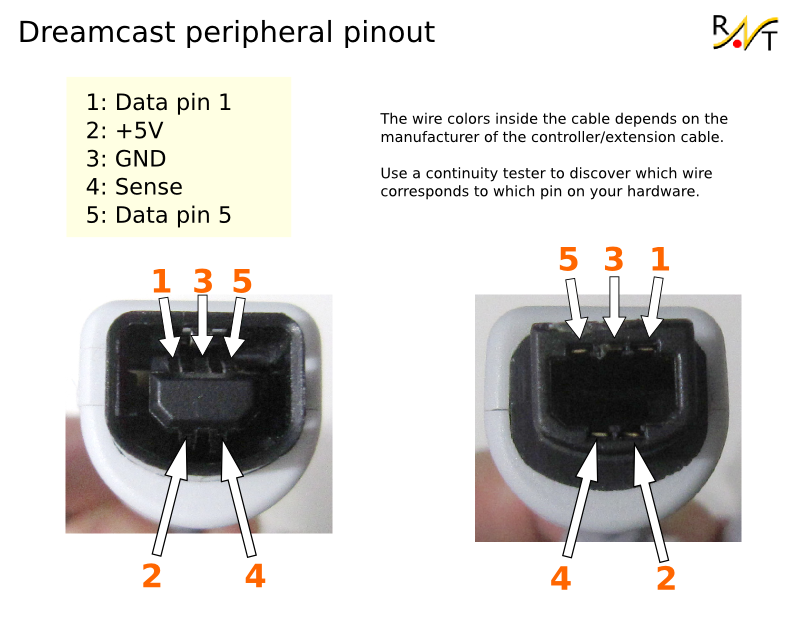
Here is a view of both connector types (console side and peripheral side) with pin numbers.
Also, since my multiuse PCB2 is well suited for this project, here is a wiring diagram using it:
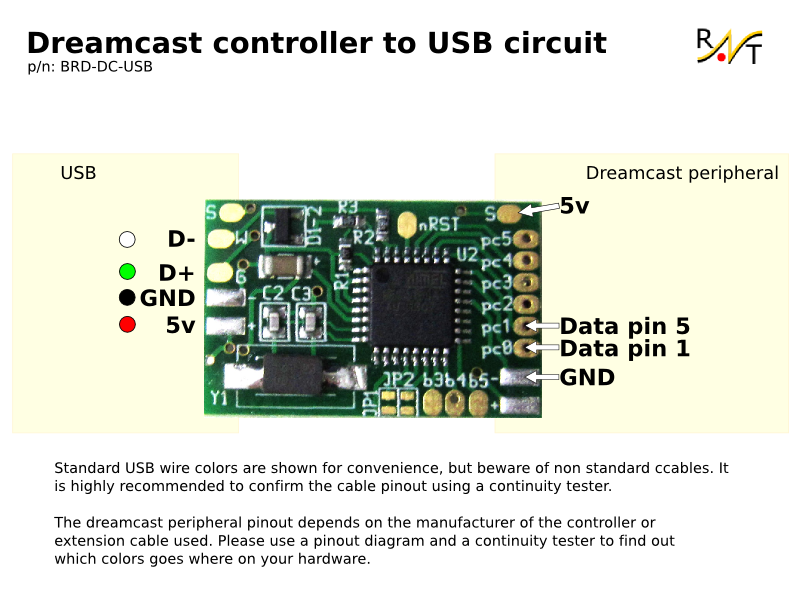
Note that the circuit should have a 3.3v regulator installed. The proper 0 ohm resistor (or bridges) should be present for the MCU to run at 3.3v (not 5v).
Firmware
| Version v1.2 November 23, 2013 (Saturday) |
|---|
New features:
|
| File(s): dreamcast_usb-1.2.tar.gz (111.1 KB) dc_usb-1.2.hex (22.7 KB) |
Show previous releases...
 This project is also available on GitHub!
To request features, report issues or contribute, you may send me an email or use the GitHub repository:
https://github.com/raphnet/dreamcast_usb
The Atmega168 has to be programmed using the .hex file. The "fuse bytes" for this project are: extended_fuse=0x01, high_fuse=0xd5, low_fuse=0xd7
For more information about the tools required to program an AVR microcontroller, please visit my AVR programming page.
Source Code (.tar.gz files):
Unless indicated otherwise, the source code is published under the GPL license. Please consult the included LICENSE file for more information. The project compiles using the included makefiles using avr-gcc under Linux.
Use
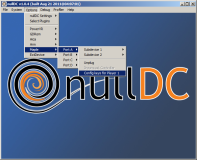
Thinking the adapter would probably be used with the nulldc emulator, I made sure it would work properly. Here is a configuration example:
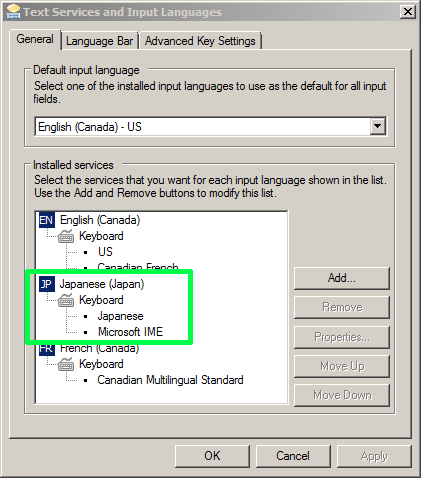
Start nulldc and go to Options-> Maple->Port A. Attach the "PuruPuru Dreamcast Controller" to the port.

Next, navigate again to Options-> Maple->Port A and open the configuration window by clicking "Config keys for Player 1".
«Config keys for Player 1».
Finally, in the configuration window, assign the controller buttons and axis. Note that I configured the "deadzone" option to the minimum value (1%) because to me, the game felt like it did on a real Dreamcast with this setting.


Start nulldc and go to Options-> Maple->Port A. Attach the "PuruPuru Dreamcast Controller" to the port.
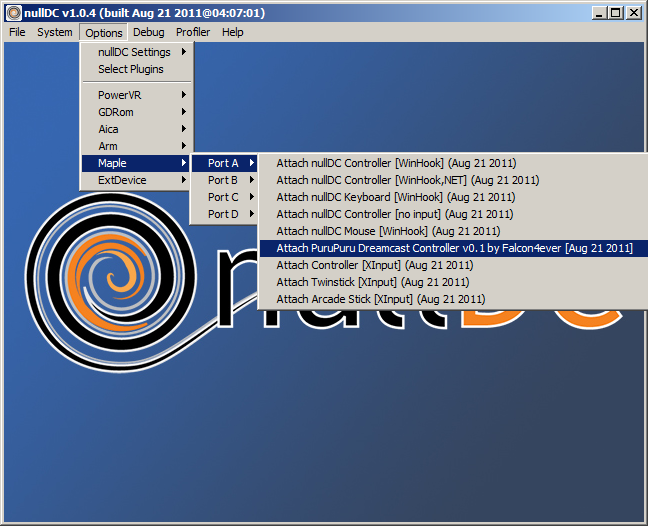
Options-> Maple->Port A-> Attach...
Next, navigate again to Options-> Maple->Port A and open the configuration window by clicking "Config keys for Player 1".
«Config keys for Player 1».

Options-> Maple->Port A-> Config...
Finally, in the configuration window, assign the controller buttons and axis. Note that I configured the "deadzone" option to the minimum value (1%) because to me, the game felt like it did on a real Dreamcast with this setting.

Plugin configuration
User pictures
I like seeing how others build my projects. If you build an adapter, please send me pictures and I'll add them here.
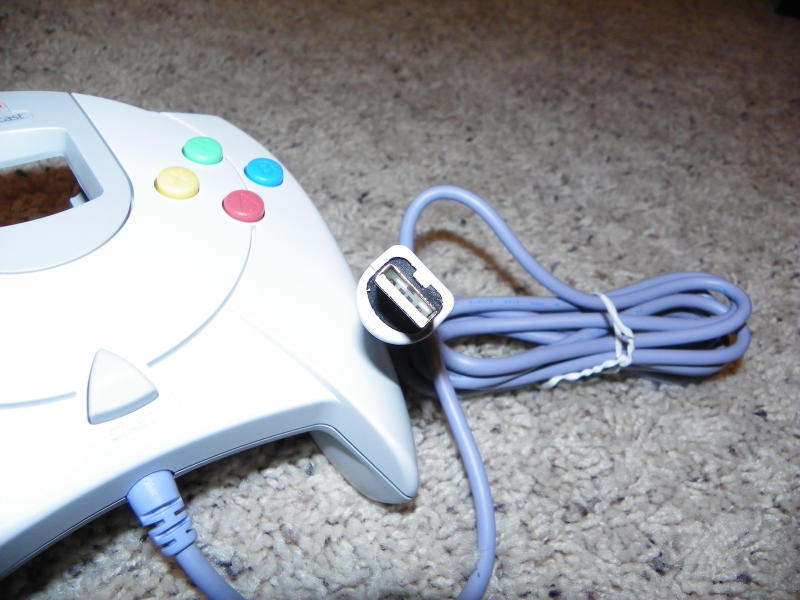
February 1, 2014 (Saturday)
Phil did a very clean job of converting a controller to USB. He writes: "I didn't build an adapter, but I modded the controller using ALL the parts of the controller including the cable but converting it to usb. It works great!". He adds: "I had to extend the wires, trim some plastic with a razor blade of course to fit the usb plug and I made a little black cover for the plug out of a dvd case I had laying around. All in all I think it looks good.".


References
The following documents were very useful for this project:
- Wiring and controller data: http://mc.pp.se/dc/controller.html
- Maple bus (software): http://mc.pp.se/dc/maplebus.html
- Maple bus (hardware wire protocol): http://mc.pp.se/dc/maplewire.html
Disclaimer
I cannot be held responsible for any damages that could occur to you or your equipment while following the procedures present on this page. Also, I GIVE ABSOLUTELY NO WARRANTY on the correctness and usability of the informations on this page. Please note, however, that the procedures above have worked in my case without any damages or problems.
Now you cannot say that I did not warn you :)
Now you cannot say that I did not warn you :)
Arquitecto especialista en gestion de proyectos si necesitas desarrollar algun proyecto en Bogota contactame en el 3006825874 o visita mi pagina en www.arquitectobogota.tk
0 comentarios:
Publicar un comentario